Wolseley Hornet engine finish build and pre run preparation .... please click here to open
It is a busy November here. As well as trying to get the Standard Vanguard (further post to follow) up together before Christmas, we are currently altering the Wolseley workshop engine stand to allow us to briefly run the engine in the workshop. This is to strengthen the supports as well as give me access to fit the front pulley, something I had overlooked when I made the wooden stand! The engine will the be run very briefly to check oil pressure and operation but avoiding prolonged off load running to avoid glazing the bores.
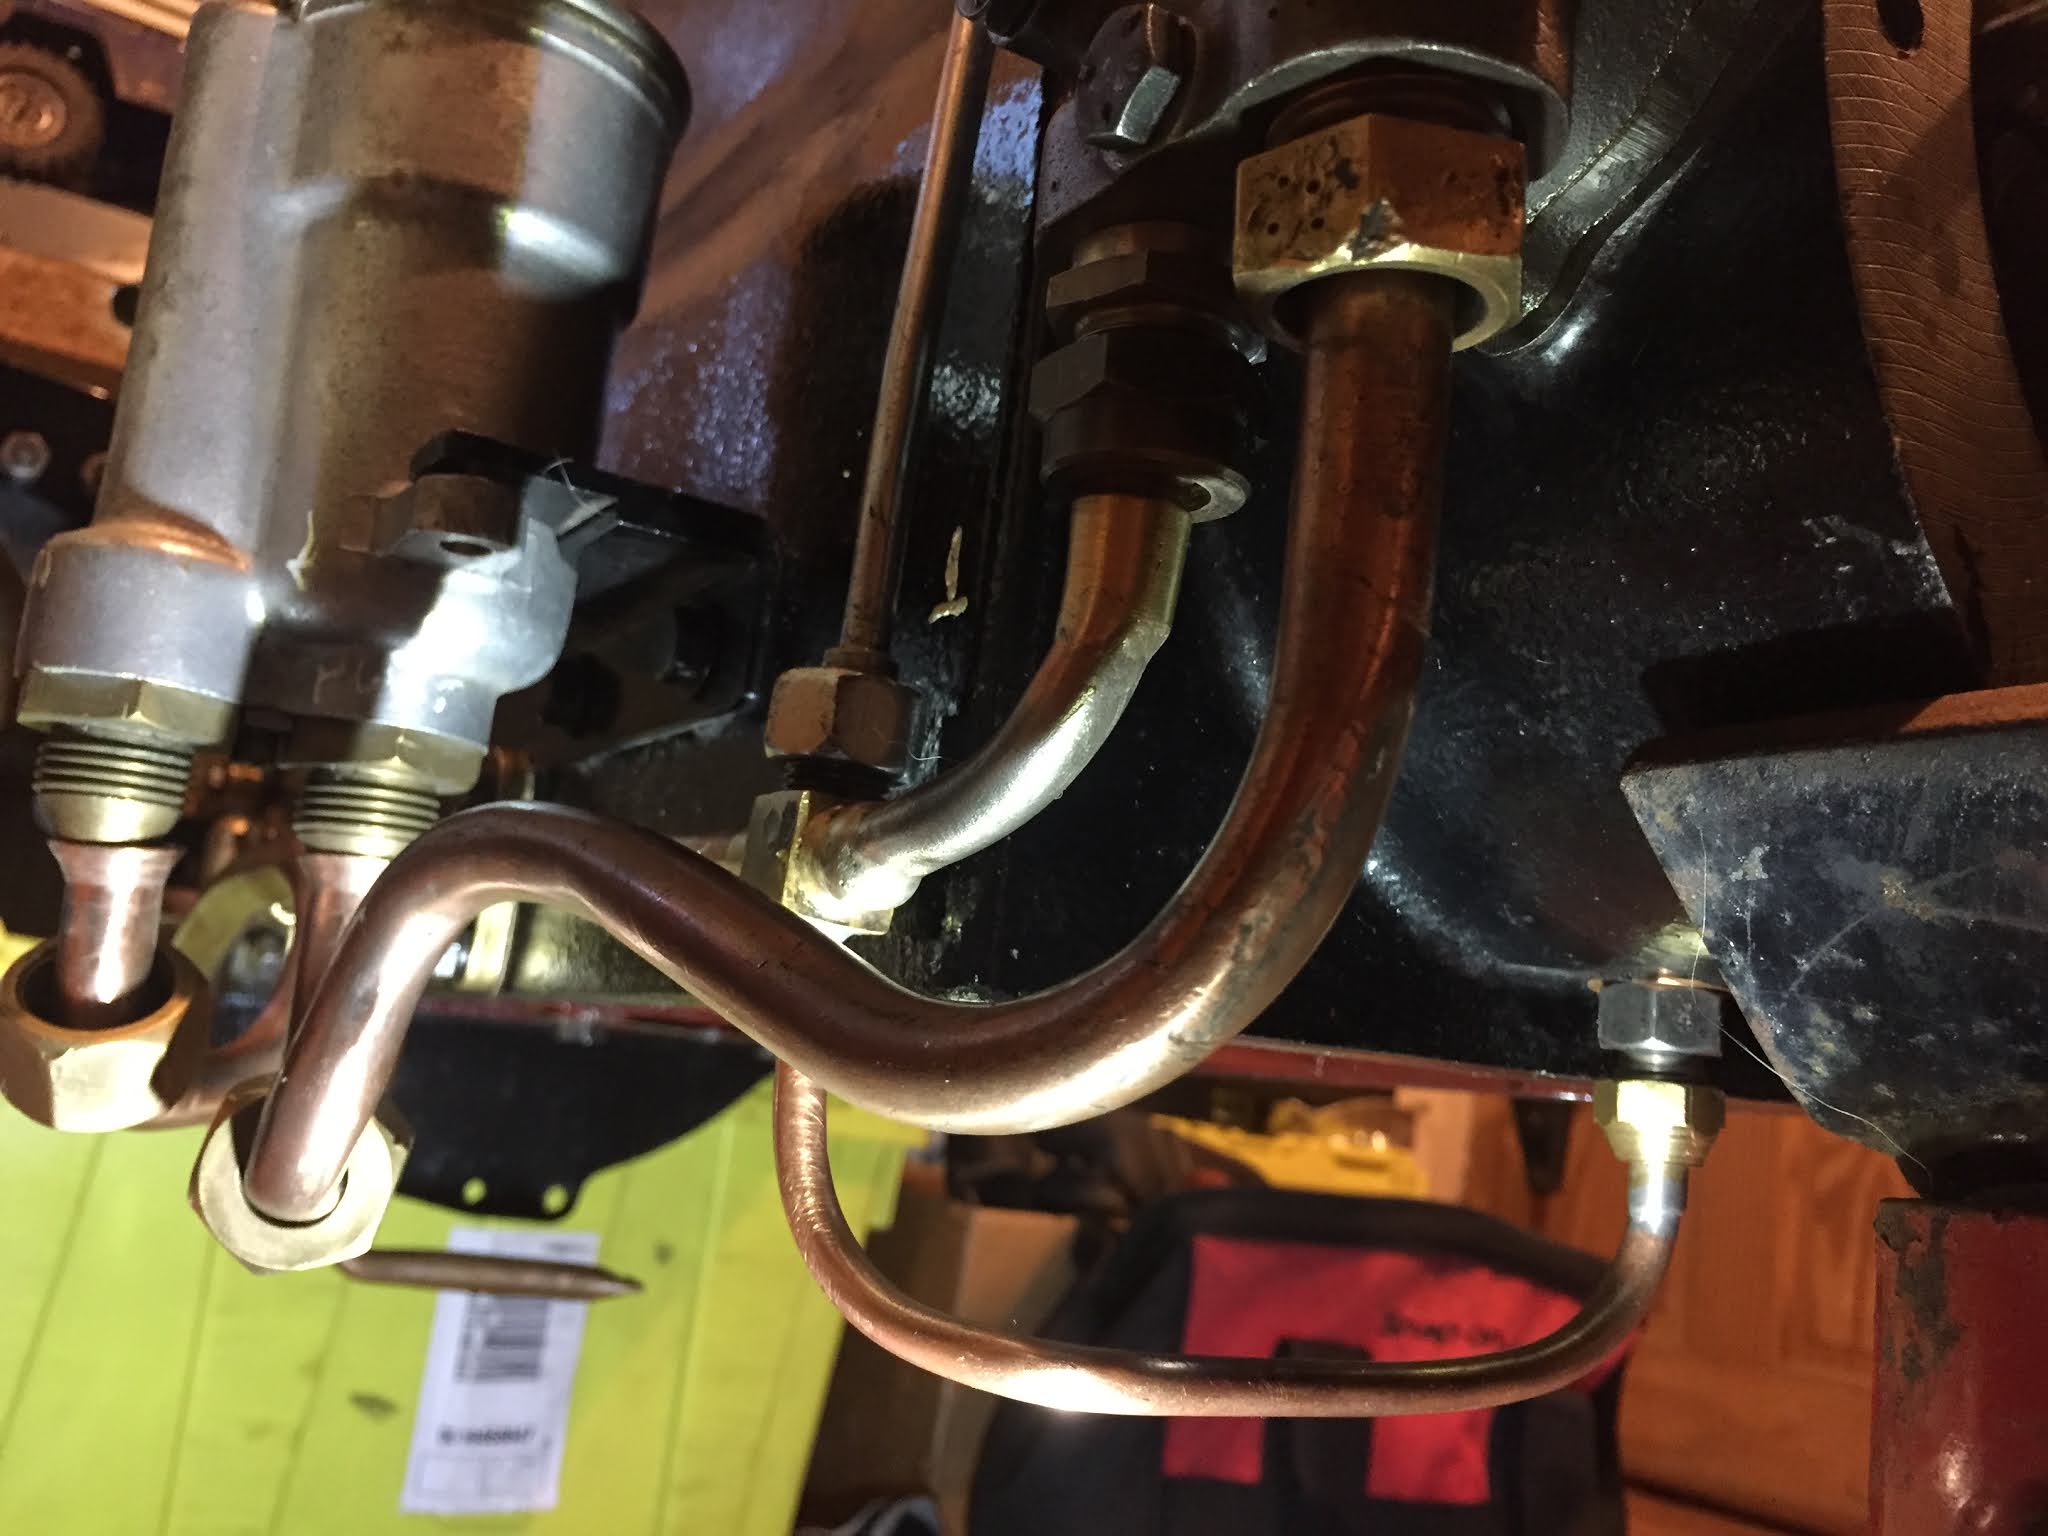
The nature of this, largely one off work, is always very time consuming, even to the end. I 've been caught out with a clearance problem on the inlet manifold and some casting issues internally. Despite being test fitted I had not foreseen this problem as the oil return pipe was not fitted until now. Rather than strip totally, you can see that I have wrapped and sealed the whole thing in a bag and then carefully hacksawed, chiselled and filed the new corner shape. We also noted a casting flaw that would allow air leakage, but that is remedied with a sealing washer beneath a bolt.
Finally, the supercharger has been bolted on, carefully monitoring the free operation of the rotors in case the tightening of the unit causes any distortion. On this point, we have also noted distortion in the carburettor manifold flange (something I had previously missed). As I tightened this to the supercharger I could easily move a 0.005" feeler gauge in an area of the joint without any nip. It is important to be careful here as any form of twist can risk distorting the supercharger housing and upset the very precise internal clearances. We will have to carefully hand face this flange and refit.
As an extra check, I have measured the supercharger rotation torque on the bench with a spring balance and measured lever point, I can use this as a datum when looking for any case of distortion and clearance changes within the housing when fitting. This can also be carried between engine test runs.
With the unit in position we have carried out further rotation tests up to 3000rpm with a battery gun.




Final Volumex Conversion Drawings
The following is prototype only, and has not yet been proven.
Shown below are the final versions of the Volumex adaptor set.


 Library Photo
3D CAD Drawings of Volumex Adaptor Kit for Wolseley...(Click to Open)
Continuing on from our previous post. Through the 3D printed prototypes, we can see our design's accurate fitting and function. We required some minor modifications, considerably easier on a 3D printed object than that of a final machined or cast item.
As a result the drawings can now be prepared and presented into documentation that can easily be understood and shared via email and paper form to any future parties. Shown below are screenshots of the final illustrations, visualising dimensions required for fabrication and any other necessary notes.
We just have do carry out a little more study of the drive shaft and housing, these will be completed and posted shortly.
J


Volumex Supercharger adaptor prototype. ....please click here to open.
Continued from previous post. Here we have some further conceptual adaptor design work to allow the option of a Volumex supercharger fitted on to the Wolseley Supercharge inlet manifold and belt drive coupling and shaft arrangement.


Nuts and Bolts! preparation. ......please click here to view
We have often been asked about finishing fixings during restoration projects.
Well as a bit of a post script .. or in this case pre script! I would like to add this edit and say that recently there has been a definite change. BSF stock is being dropped from many of the suppliers, as a result, the costs are escalating hugely which gives greater strength to the first two points in the following list. It also means that for the first time, I regret we will be charging for new BSF bolts even when in small quantity. We will keep this charge at the cost price.
There are several options and our decision is taken according to budget, originality and purpose.
- We can clean, dress bruising from spanners and recover threads to re use original bolts and nuts unless they are highly stressed. In this situation, we make a careful judgement and often fit or make new.
- We can clean, fettle, dress bruising, dress threads and oil black (Rolls-Royce use oil blacking on their original fittings before the during the pre war years). To oil black, we heat the prepared nut or bolt until it just begins to change to a straw / blue on the head and then quench in old oil. The end product is very effective and quite long lasting in reasonable conditions.
- We can fettle as above and paint, Suncorite (Henkel) black phosphate primer is ideal, giving a very natural oil blacked look but with excellent resilience.
- Or we can simply renew, carefully cutting "off the shelf" bolts to size or threading to produce the correct shoulder depth. We may also face the head in the lathe to remove inappropriate "modern" lettering.


Supercharger Adaptation Continued.
Some more Supercharger drive over the last two weeks. All very time consuming as the clock races as if supercharged toward Christmas!
