Piston Rings Cont'd


In the above second video you can see the difference between a fettled and unfettled ring.
This one has a nominal 0.009" variation in depth. Considering the minimum requirement is 0.008" back clearance in the groove, there is no margin and the ring actually protrudes beyond the groove, sandwiching between the bore and the bottom of the oil control groove.

Lyon 2014 - 1000 mile road trip in Edwardian racers


A great cheering up movie by Stefan.... especially when I am knee deep in non fitting pre war car piston rings!!

Piston Ring Problems. ...Please click here to open video


Having had some issues with piston rings over the last few days, I thought I would share this video with you to illustrate some of the problems with making quotes and setting schedules and why we try to avoid this.
The problem illustrated is due to the oil control ring quality and a little due to variation in the piston ring grooves. Most manufacturers call for a nominal 0.008" to 0.012" radial back clearance. That is the clearance between the ring face and the land face of the piston when the ring pushed firmly into the groove. Normally we would consider setting up in the lathe piston jig and machining the groove a little deeper, but with the ring variation on this particular set, I have opted to dress the rings on this occasion. We may also have been able to make a machining jig to correct the rings in the lathe, but that is tempting fate to go experimenting this late in the schedule and with no immediate ring replacement source.
In the commentary I refer to a "pre build inspection sheet" that I have produced to aid me with every engine build to make sure I have peace of mind after the engine has left me (as much as any engine builder has peace of mind). Whilst I always observe the ring and groove condition, this was not actually listed on the sheet. Fortunately, I noticed the issue before fitting the pistons. It will certainly be part of my reminder list in the future, avoiding this sort of correction work late in the build. Despite having built over 75 marques of unusual and rare engines, you never stop learning.

Note to all customers.

Please allow a transition period as we are now hopefully approaching the closing phase of Covid 19 restrictions.

Parts suppliers and Subcontract work will begin to return to a normal service, many items that have been delayed are already becoming available. However, as a very small team, our immediate workload will increase considerably and may cause some delay for a short period as we get all of our projects up to speed simultaneously. We will work hard to avoid long delays and to maintain or return to your pre Covid schedule as soon as we are able.

Thank you for understanding and for your support and patience during this time.

Eric and Jacob.

Early spring workshop: Please click here to view

With the upturn in weather, it is nice to wheel the Turner 950s chassis out into the open.
Work has progressed on the rear suspension (we made new trailing arms eighteen months ago as the originals had fatigue cracked. To improve their life a little, we have included an extra 'lozenge shape' doubler plate to help transfer the loads.


  Brackets to provide location for an additional torque reaction radius rod between the nearside chassis and axle.


Bumper and dumb iron fittings.


Routing pipes and fittings.


The front suspension has been together but it is easier to remove springs for the last bracket welding and alignment.


Unlike the Turner we haven't wheeled the 30's Triumph Gloria Vitesse out into the sunlight yet, although we hope to drive her shortly.
    Here we have been doing some more rainy day work that is time consuming but necessary.

Below: Assembly of the replated parts and the finishing work of interior lamps including the wiring replacement.


Looking from the inside, we are marking a plywood template to provide a pattern for the outer skin of the sunroof rear section. We will also provide a leather cloth edging covering the wood before the headlining material begins, protected from any damp ingress.


30s Peugeot 401 and Jaguar Mk II.

Here we have been working on a Jaguar head. It has been pressure tested and had new guides and new valves. We have lapped the new valves and are now measuring valve clearances to order new shims as required.
The Peugeot is having pistons fitted, this should have been the last stage but, as with the Jaguar head, we have run into poor quality issues on new parts, there will be a separate post regarding this problem shortly.


Peugeot


Measuring oil control ring depths as fluctuations on each ring have given a considerable problem.


Although we have a problem with oil rings, the odd protrusion of pistons is necessary as the pistons and rods have to be entered from below and then rings fitted prior to re entering the pistons into the bore and the rods connected. Bore sizes on these engines do not allow rods to pass through.


Benjie is showing patience... though equally annoyed at parts issues.


And Finally, we have been working on this American Chief engine.
Here we have stripped the oil pump for inspection and have been digging through thick oil filter and oil pipe clay like deposits. I have seen this before, especially in hollow crankshafts and mechanical engine dampers where the oil contaminates compress as they centrifuge out, but these filter deposits are among the worst!


Dnepr Sidecar outfit rewire and other odds and ends!

 A snippet of the Dnepr rewire that we have been carrying out, ready for it's reintroduction to the road.

This, combined with completion of some major carburettor work that had been started by a previous owner and some new spark plugs, caps and HT leads. Attention to the little platinum points contact which had come loose on the retaining rivet. She is now a "first kick starter".

From a bunch of old original wiring and newer additions which had been added via scotchblocks, we have rewired with appropriate fittings where possible. We did introduce a modern main fuse into the circuit, supported by Jacob's specially designed and 3D printed bracket, a one-off for this Dnepr.

A replacement for the missing main beam warning lens was found and located by a small 3D printed bezel.


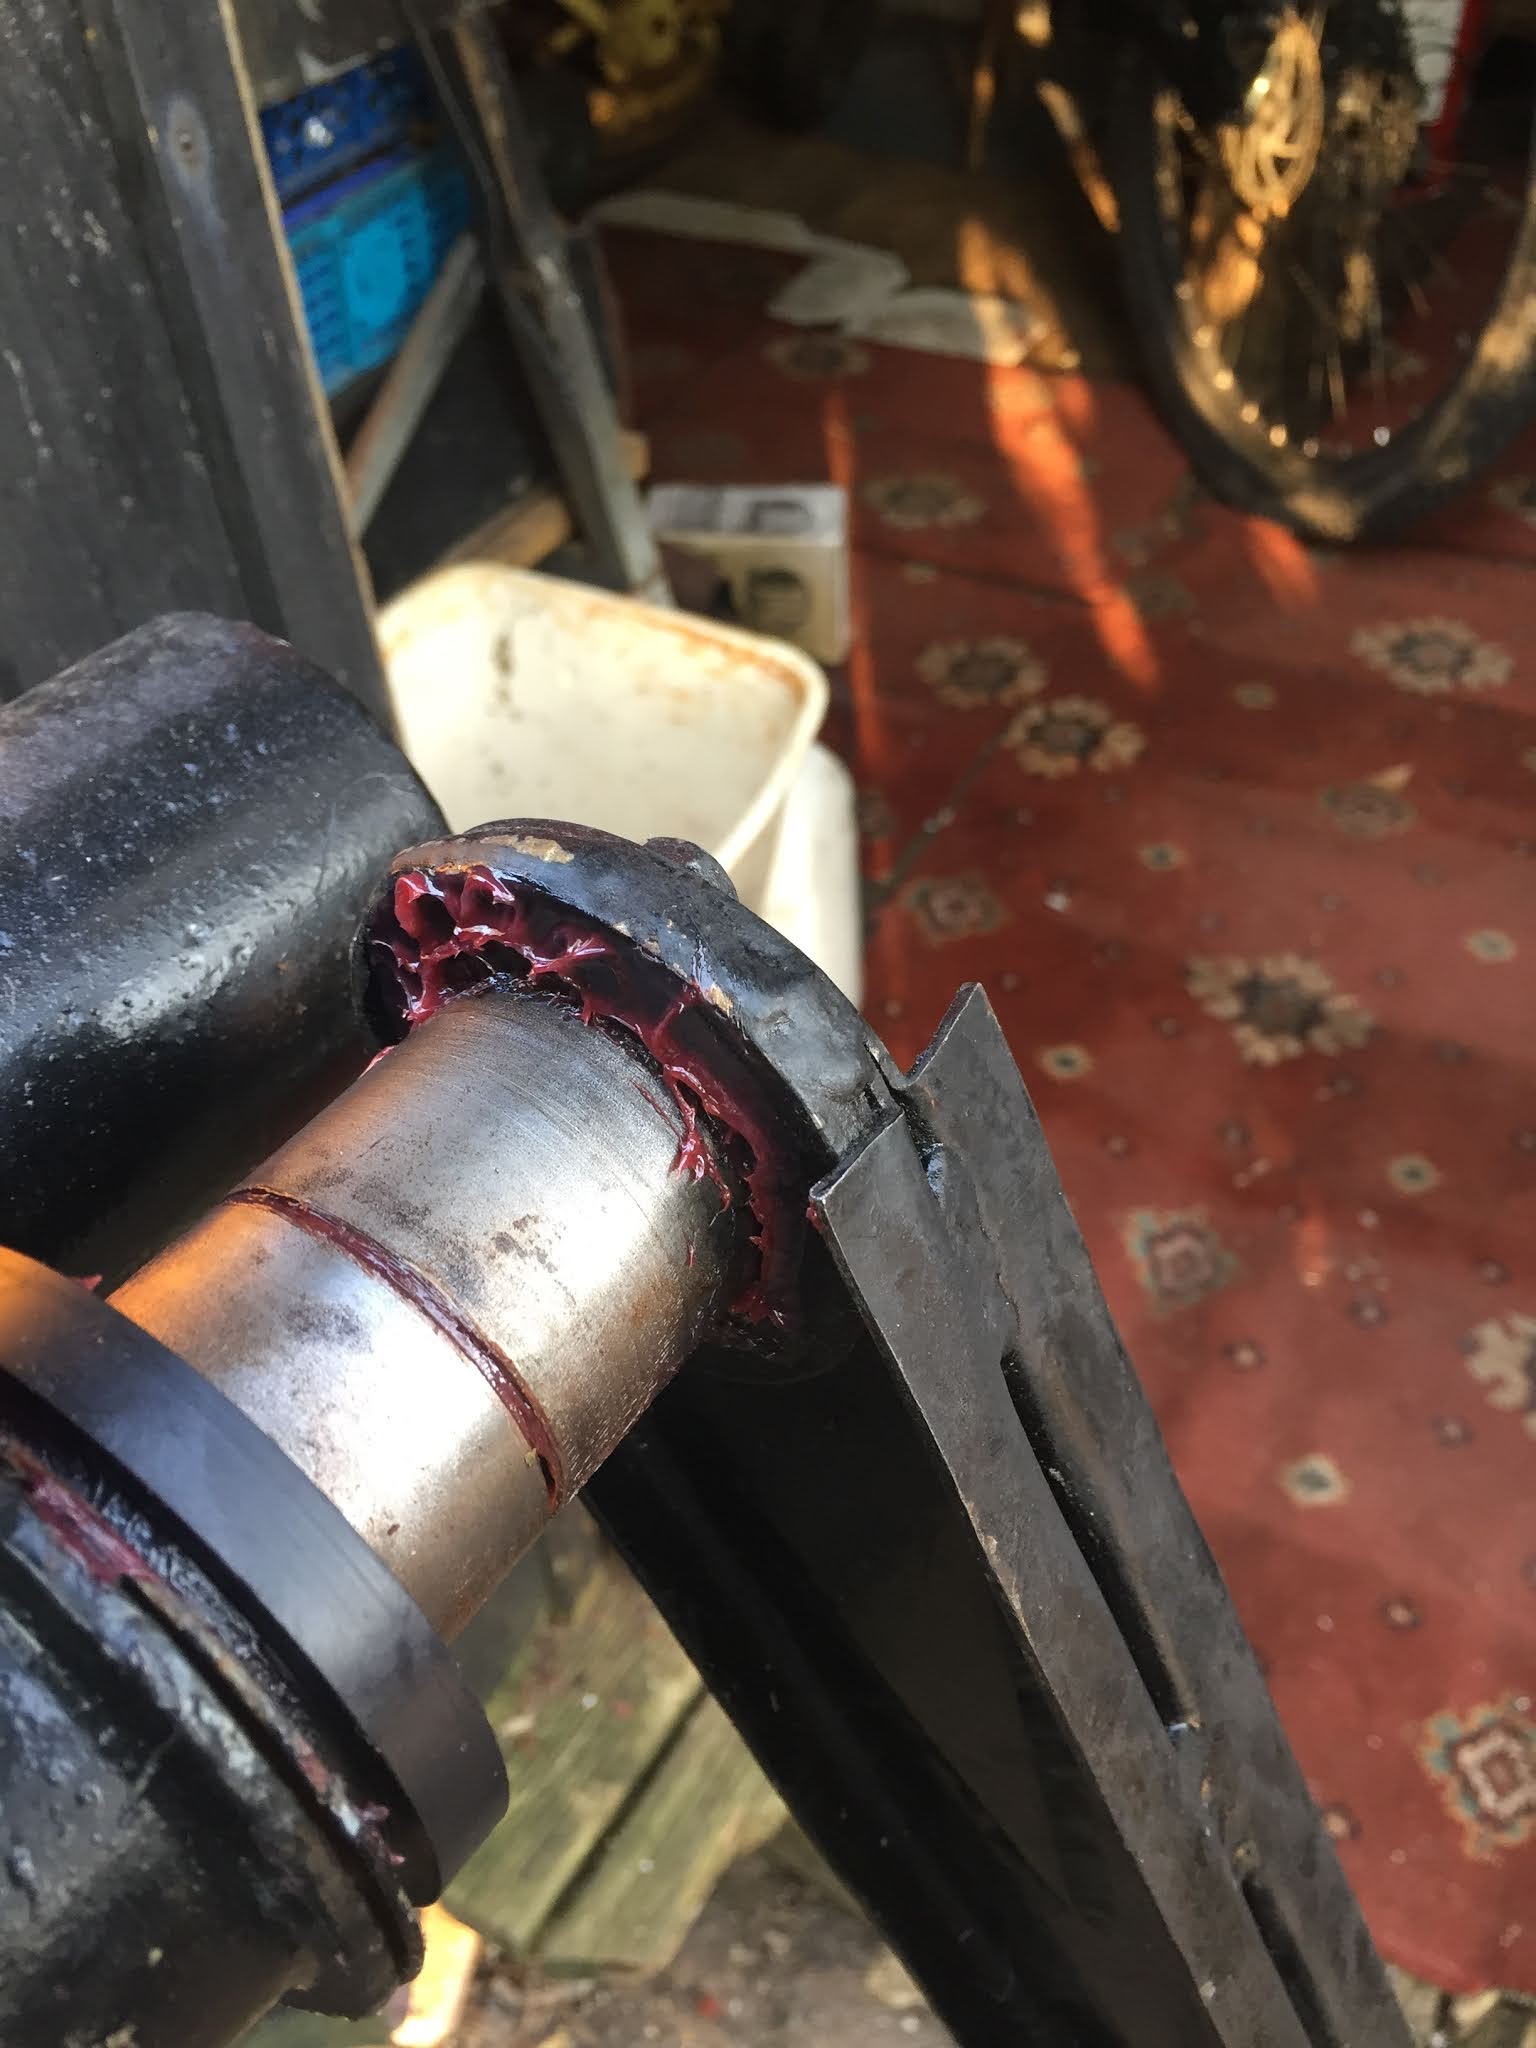
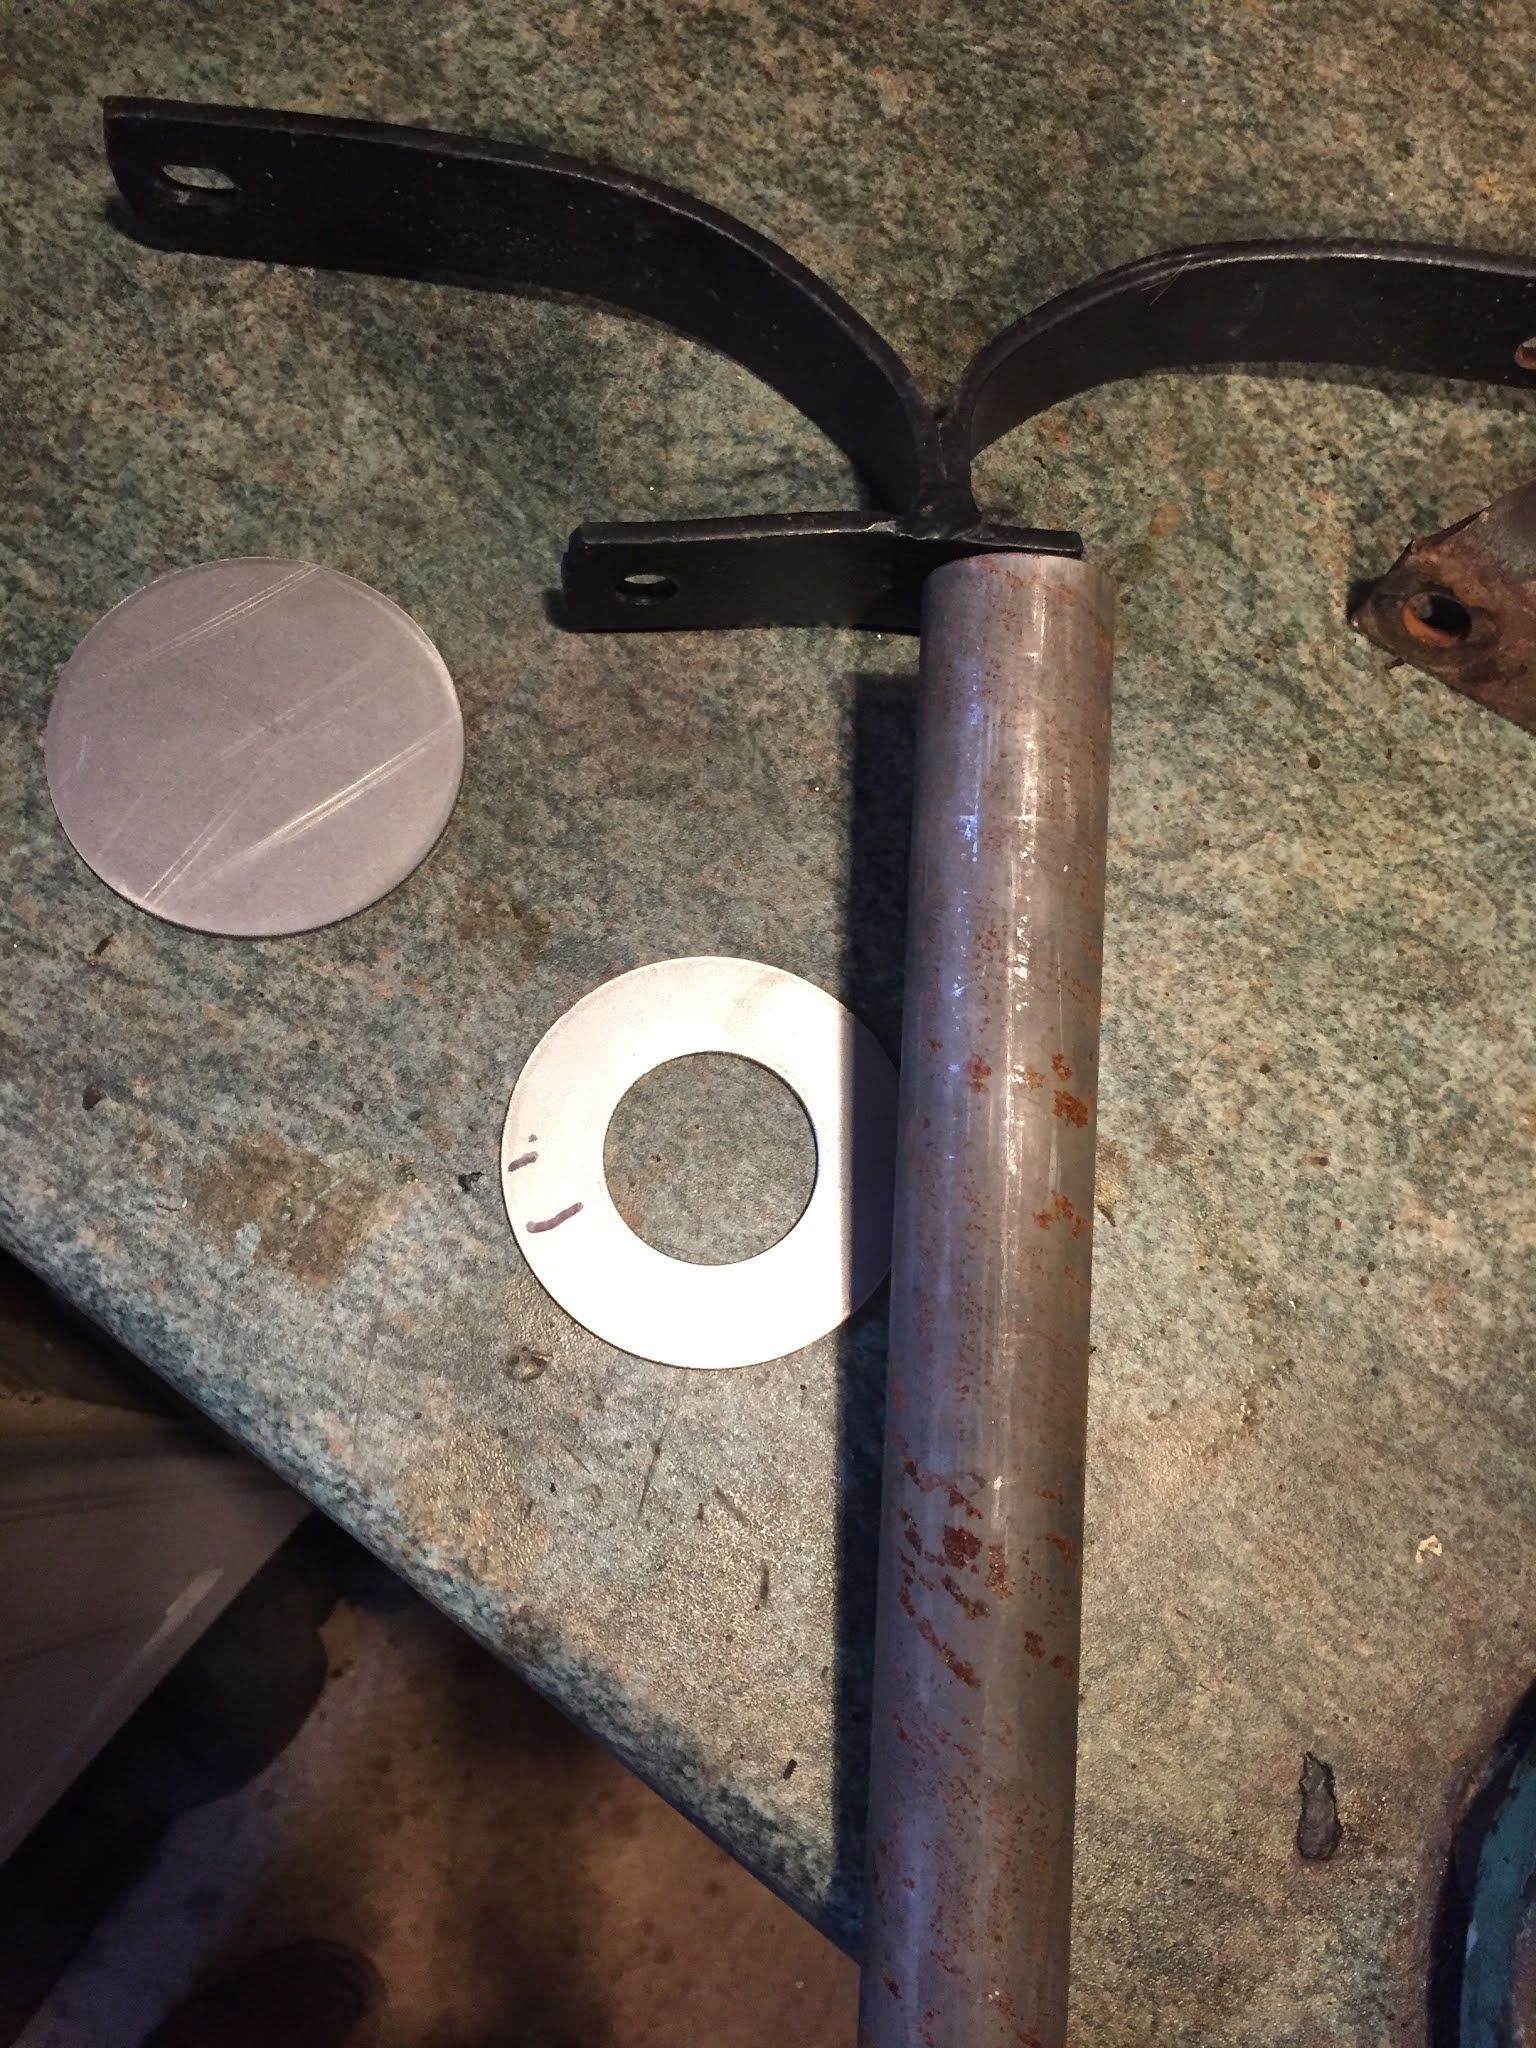
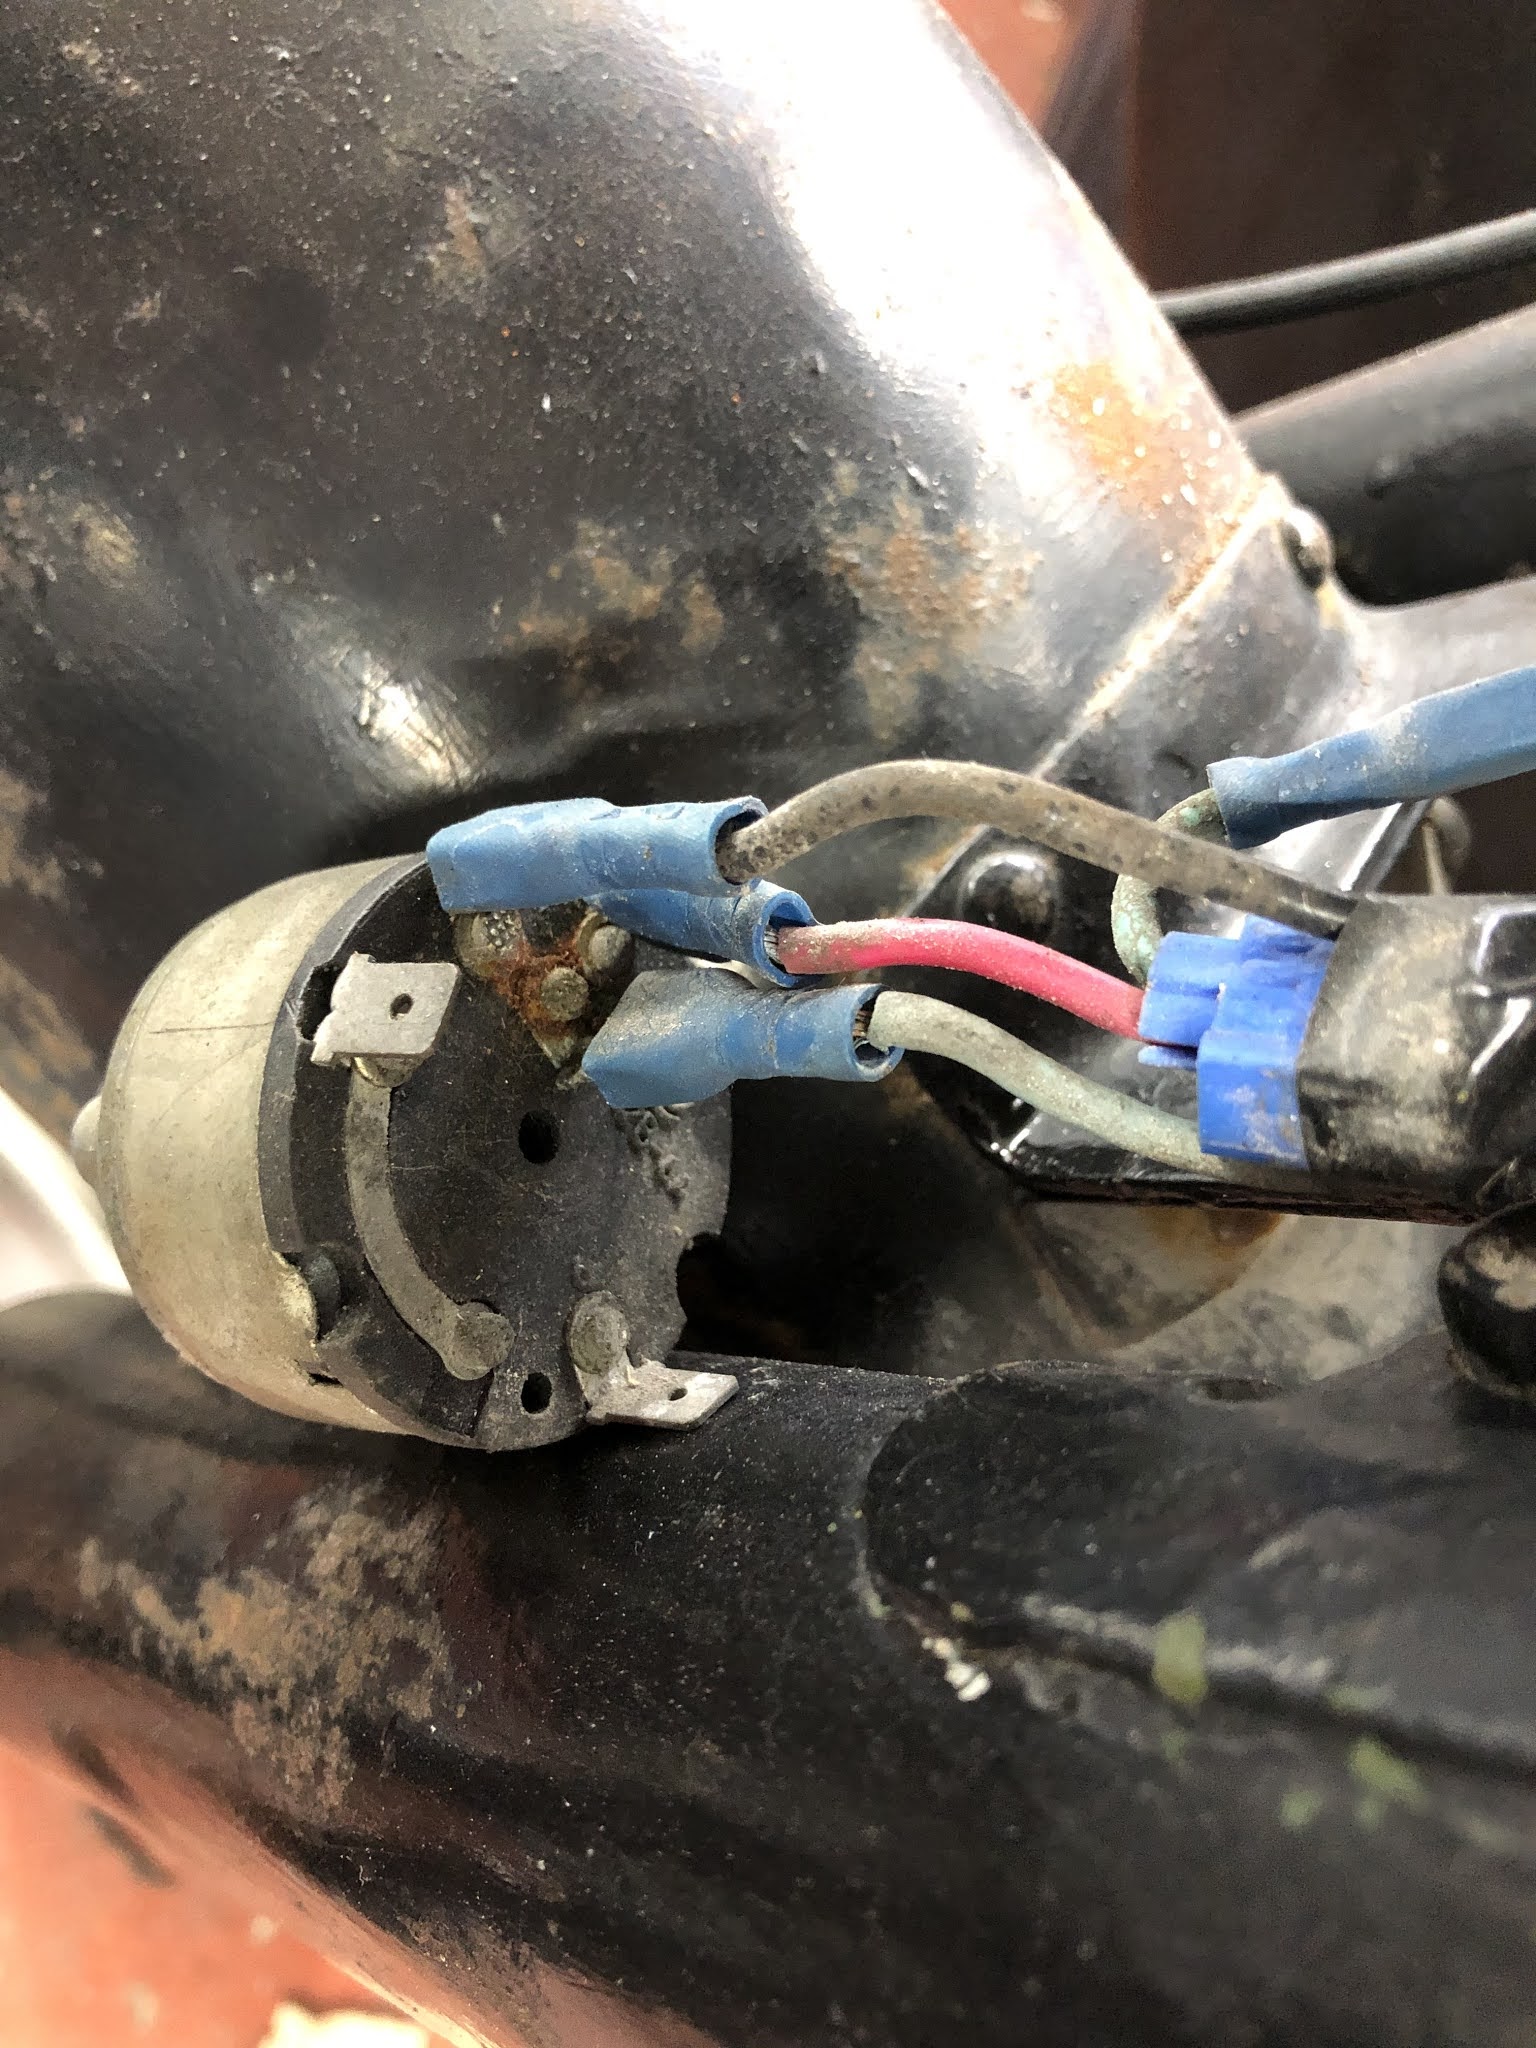
Photos showing mixed quality old wiring and modification over the 50 + years of the bikes lifetime.


We have now replaced the wiring, provided soldered terminals throughout and 3d printed a holder for modern fuse location:


Finial For Flagpole!


Above: we fitted a new ignition / lamp switch which required some conversion back to standard. We modified the unit for a more available standard charge light bulb and silver soldered a crack in the chrome top bezel trim.
The whole bike was treated to a coat of boiled linseed oil to retain the patina and protect against decay.


Here we are making a conduit to follow the sidecar wheel arch closely as the original built in channel through the arch double skin, has been dented and obstructed.


Just a coat of paint required before fitting.