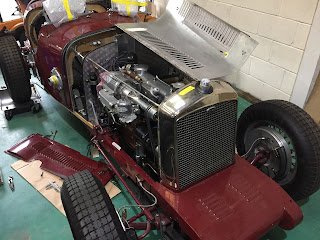
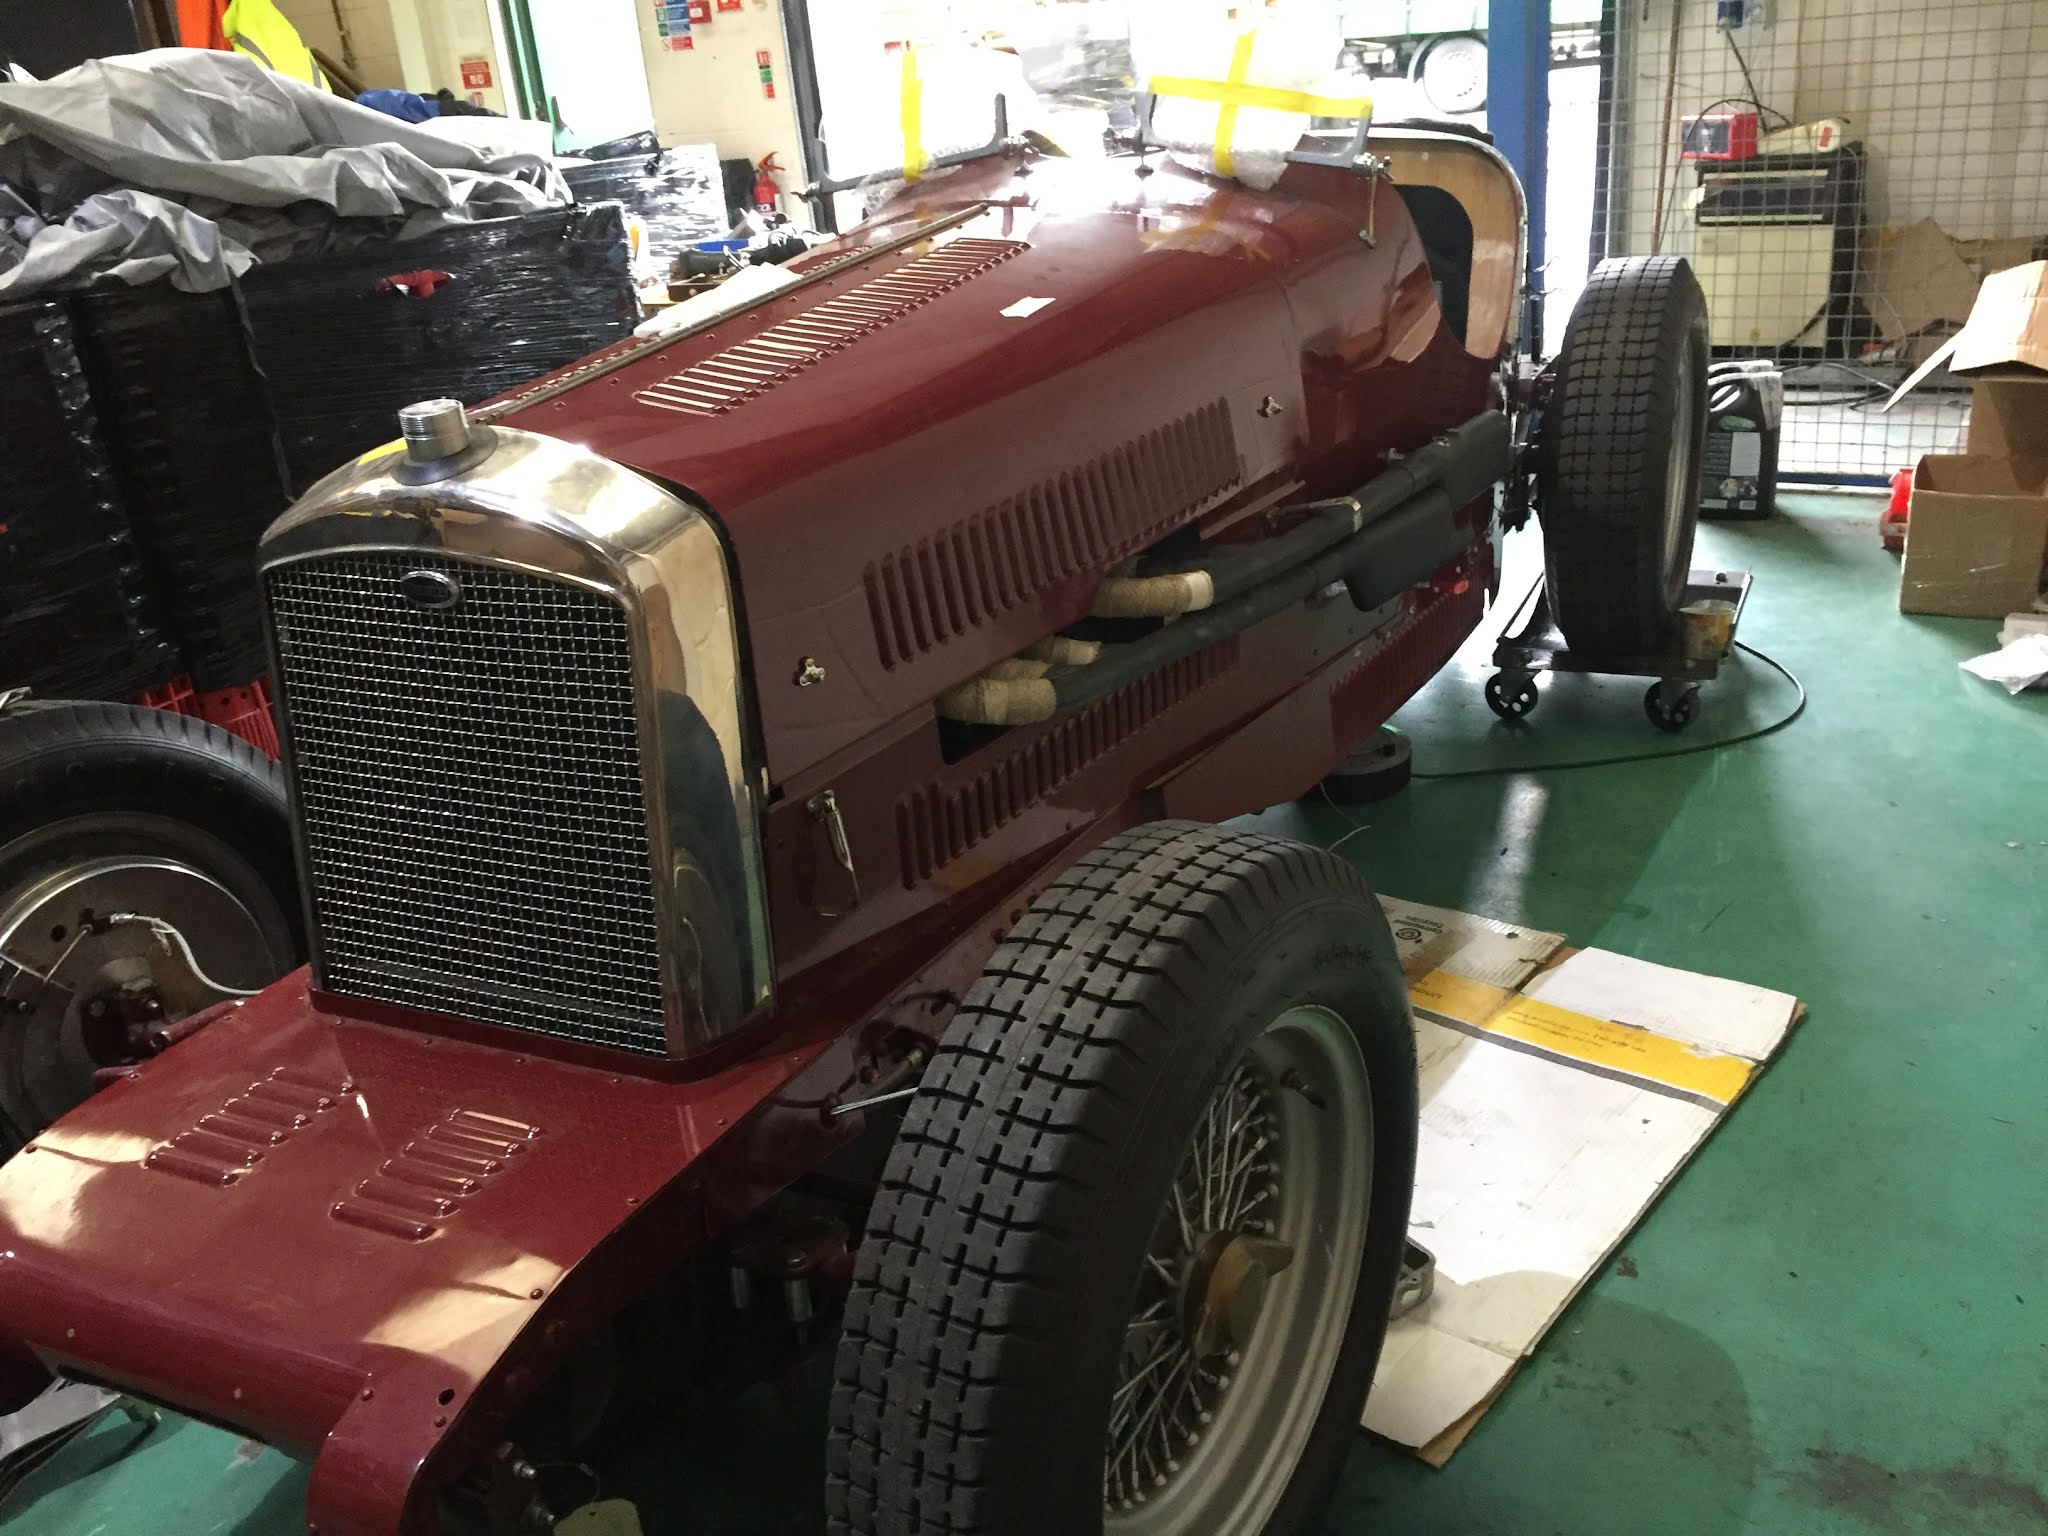
Wolseley Hornet spl, some recent work: Please click here to see.

Cardboard mock up of a proposed new fuel tank to lower the C of G and provide some useable storage space.

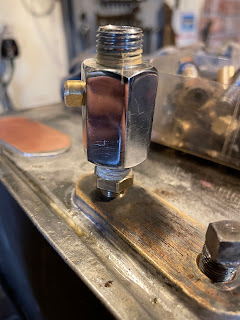
A late addition to the project was a lockable fuel tap of the period.

We recently machined this mount to fit a nicely patinated drivers mirror.

Quite a lot of hours have been taken in making modifications to the brake linkage to fit into a minimal area. Where possible the original core items have been retained..


Bronze welding a threaded boss to retain the passenger heat shield.


Finishing touches to the ever changing transmission cover

Riveting the draft excluding felt edging strip where the remote gearchange will nestle in position.

"Rocketeer" heat shield now fully located. Note the spark plug is just plugging the Lambda sensor location at the moment.

Checking the slash cuts align on the tailpipes.

This transmission cover has evolved so many times, I never expected to see the finished article. It is missing a hinged access flap which is being painted at this stage.

Three in a row. We designed and made these earlier, the two upper fittings are to mount the exhaust silencers. They travel through the skin to contact the frame inside and transfer all of the loads. There is no load through the body and the washers simply carry felt draft exclusion.
The lower fitting is the pull handle for the battery cut off. Again loads are transferred to an inner bracket, the body is free of any loads

Exhaust mount close up. The felt backing washer is located against a small shoulder.
Summer workshop projects
I very much apologise for the very long delay since the last post. It is a little indicative of the suddenly very busy post Covid time as we try to catch up as well as reconcile parts supply issues.
There is so much to catch up with that I will probably do several posts of this summer period over the coming weeks. They are in no particular order.

"Walter" the 46 Studebaker Champion engine parts preparation:


I include this picture because this very clearly benefitted from the pressurised oil system test prior to fitting the sump. The bearing was produced historically before the engine came to us. There appeared to be an oil delivery drilling and when washing the fluid passed through as expected. However, when we carried out a pressurised oil delivery of the assembled bottom end, I noticed less oil passing to the inboard big ends. This was clear from the exiting flow out of the big ends. Removal of this centre main and close inspection revealed the drilling had an offset or elbow division, the division had been partly obscured by a molten white metal "blob" hindering the flow to the central channel and ultimately to the inboard big ends. Quite a lot of free of charge backtracking required to drill and hand sculpt the channel (FOC because I was responsible for the build and should have arguably picked up this hidden flaw). The main thing it illustrates is the importance of that final oil delivery test!


Wolseley Hornet contd


Many photos in no particular order. More to add soon..


Handbrake modifications.


Quite a task to design and make the carburettor throttle linkage system.


Please note these are temporary bolts having drilled, tapped and made a revcounter drive access cover on the firewall


Annealing the flares in situ to help with the sealing of Silicon fluid.


Floor section finishing trials


Wheels often have paint on tapers when refurbished.. always remove! Clean tapers are important throughout engineering.


Brass adaptor for the water drain and we have machined a drivers mirror mounting in an appropriate style


Clutch and brake pedal modifications.

Sidelights to adapt as indicators

Tricky pipe bends and more annealing..

Trial fit of flexi fuel pipe route.

Rev counter testing


Propshaft flange sleeve to recover seal journal wear

A moments art interruption for a birthday..

Choke linkage is difficult because of the carburettor position. Here we overcome the problem with no linkage at all. It is a racing car and some convenience concessions have to be omitted.


Many more Wolseley photos to follow soon..
Jaguar Cylinder head, GN Fuel tank and more..


Carburettor butterfly shaft overhaul. Carburettors are surprisingly time consuming. It is important not to machine all of the way through if you are making special bushes as in this case. There is a step to reduce the housing diameter adjacent to the Venturi, it is easy to assume you can machine all the way through both housings in one go...take care.

Dressing the cam followers to reduce wear and shims to size where possible.
A figure of 8 motion on quality glass, mirror or surface plate mounted emery or wet and dry paper can work well but a surface grind is considerably quicker. Having completed a figure of 8 dress a good tip is to drag the shim one straight swipe followed by a second single swipe at 90 degrees to the first. This gives a good indication of low spots when viewed at a shallow angle.
There is likely to be a thickness of case hardened skin, be aware as this can vary with aftermarket items. By testing an old shim, these appeared to have a nominal .010" case depth but I am sure this may vary.


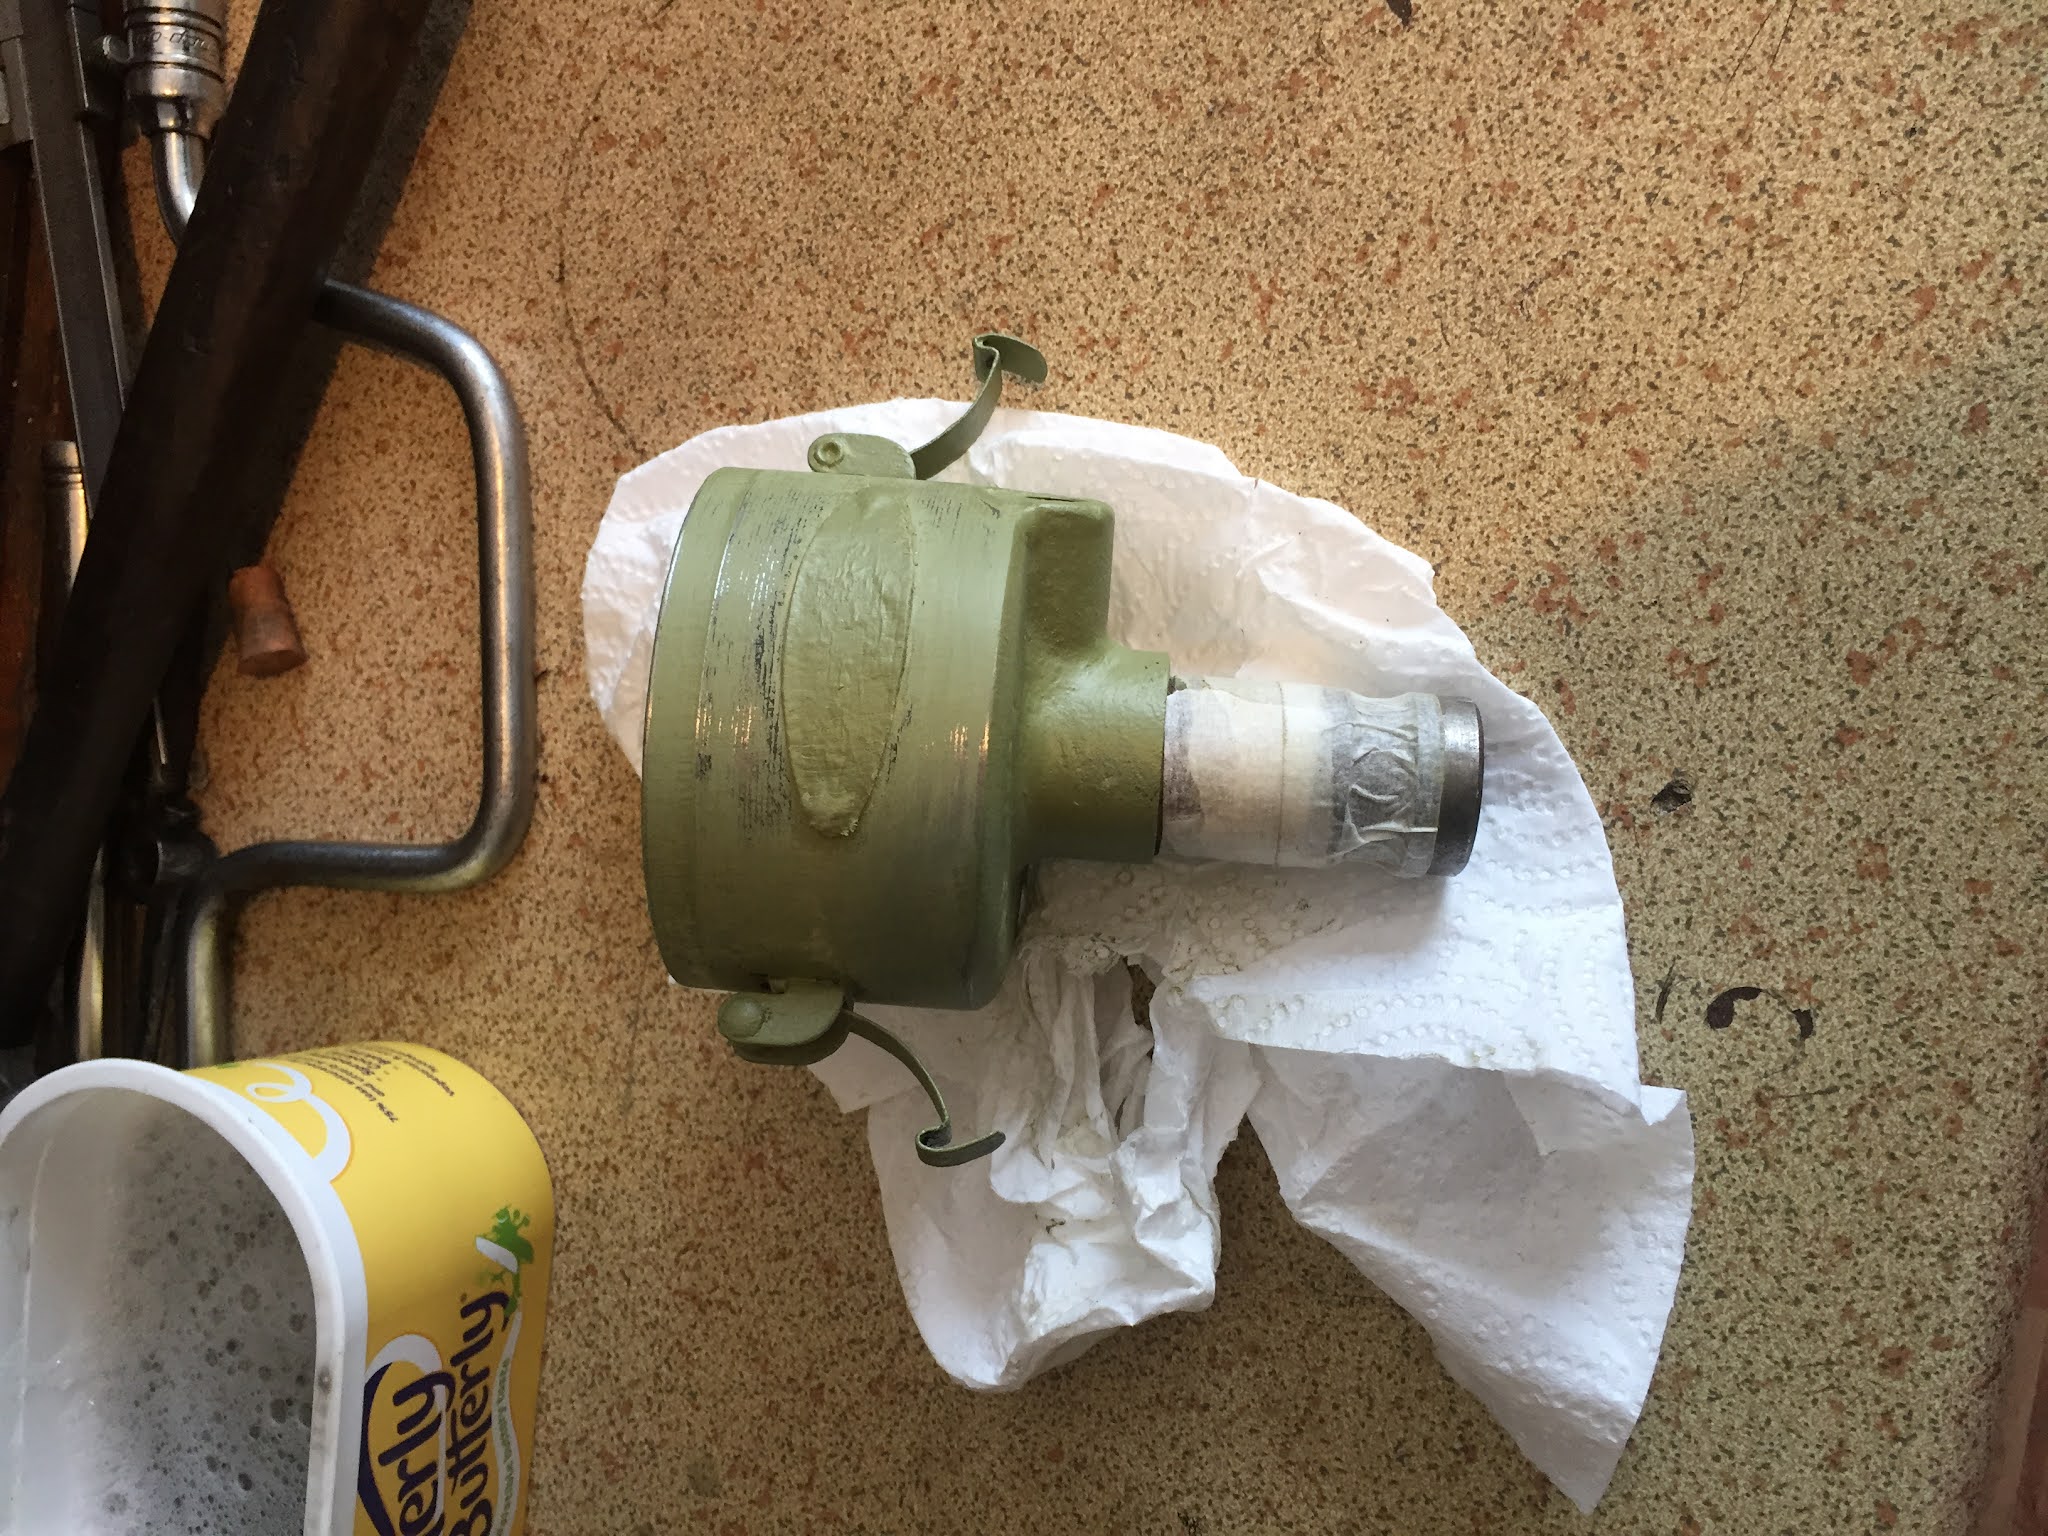
GN Fuel tank, new tap and plug mounting plate and blanking plate made and soldered into position

The Old

The New
Subscribe to:
Posts (Atom)
Supercharger Adaptation Continued.
Some more Supercharger drive over the last two weeks. All very time consuming as the clock races as if supercharged toward Christmas!
