After an endless period of finishing and detailing we seem to be running out of items on the finishing list and... better still, we do not seem to be adding quite as many.
The time consuming work of a restoration goes without saying but the time consuming work in a prototypical creation and restoratrion project is exponential!
We have experimented, designed, altered,adapted, fitted new designs and trialed so many components throughout and now it all comes to a point of focus as we are near complete on the rolling chassis / body (presently delayed with the post summer Lockdown regulations in Wales and latterly England) and now we are close to the engine test run.
Although we had not expected any problems we felt it prudent to run through the supercharger and generally refresh this with new bearings and any fettling that might be necessary. With new bearings and a little dressing of a few areas we can check and set the various clearances, dress the gears and reassemble a known entity. We have made a small modification to allow the oiling of the front lower bearing, although the bearings are sealed there is some evidence that this bearing might suffer from the remains of fuel and condensation which over a period ingress into the rubber seal. I can imagine that the original design of this unit may have been to pump air alone as opposed to the fuel mix it endures during its racing career. We have also made some repairs with the use of thread inserts where necessary.
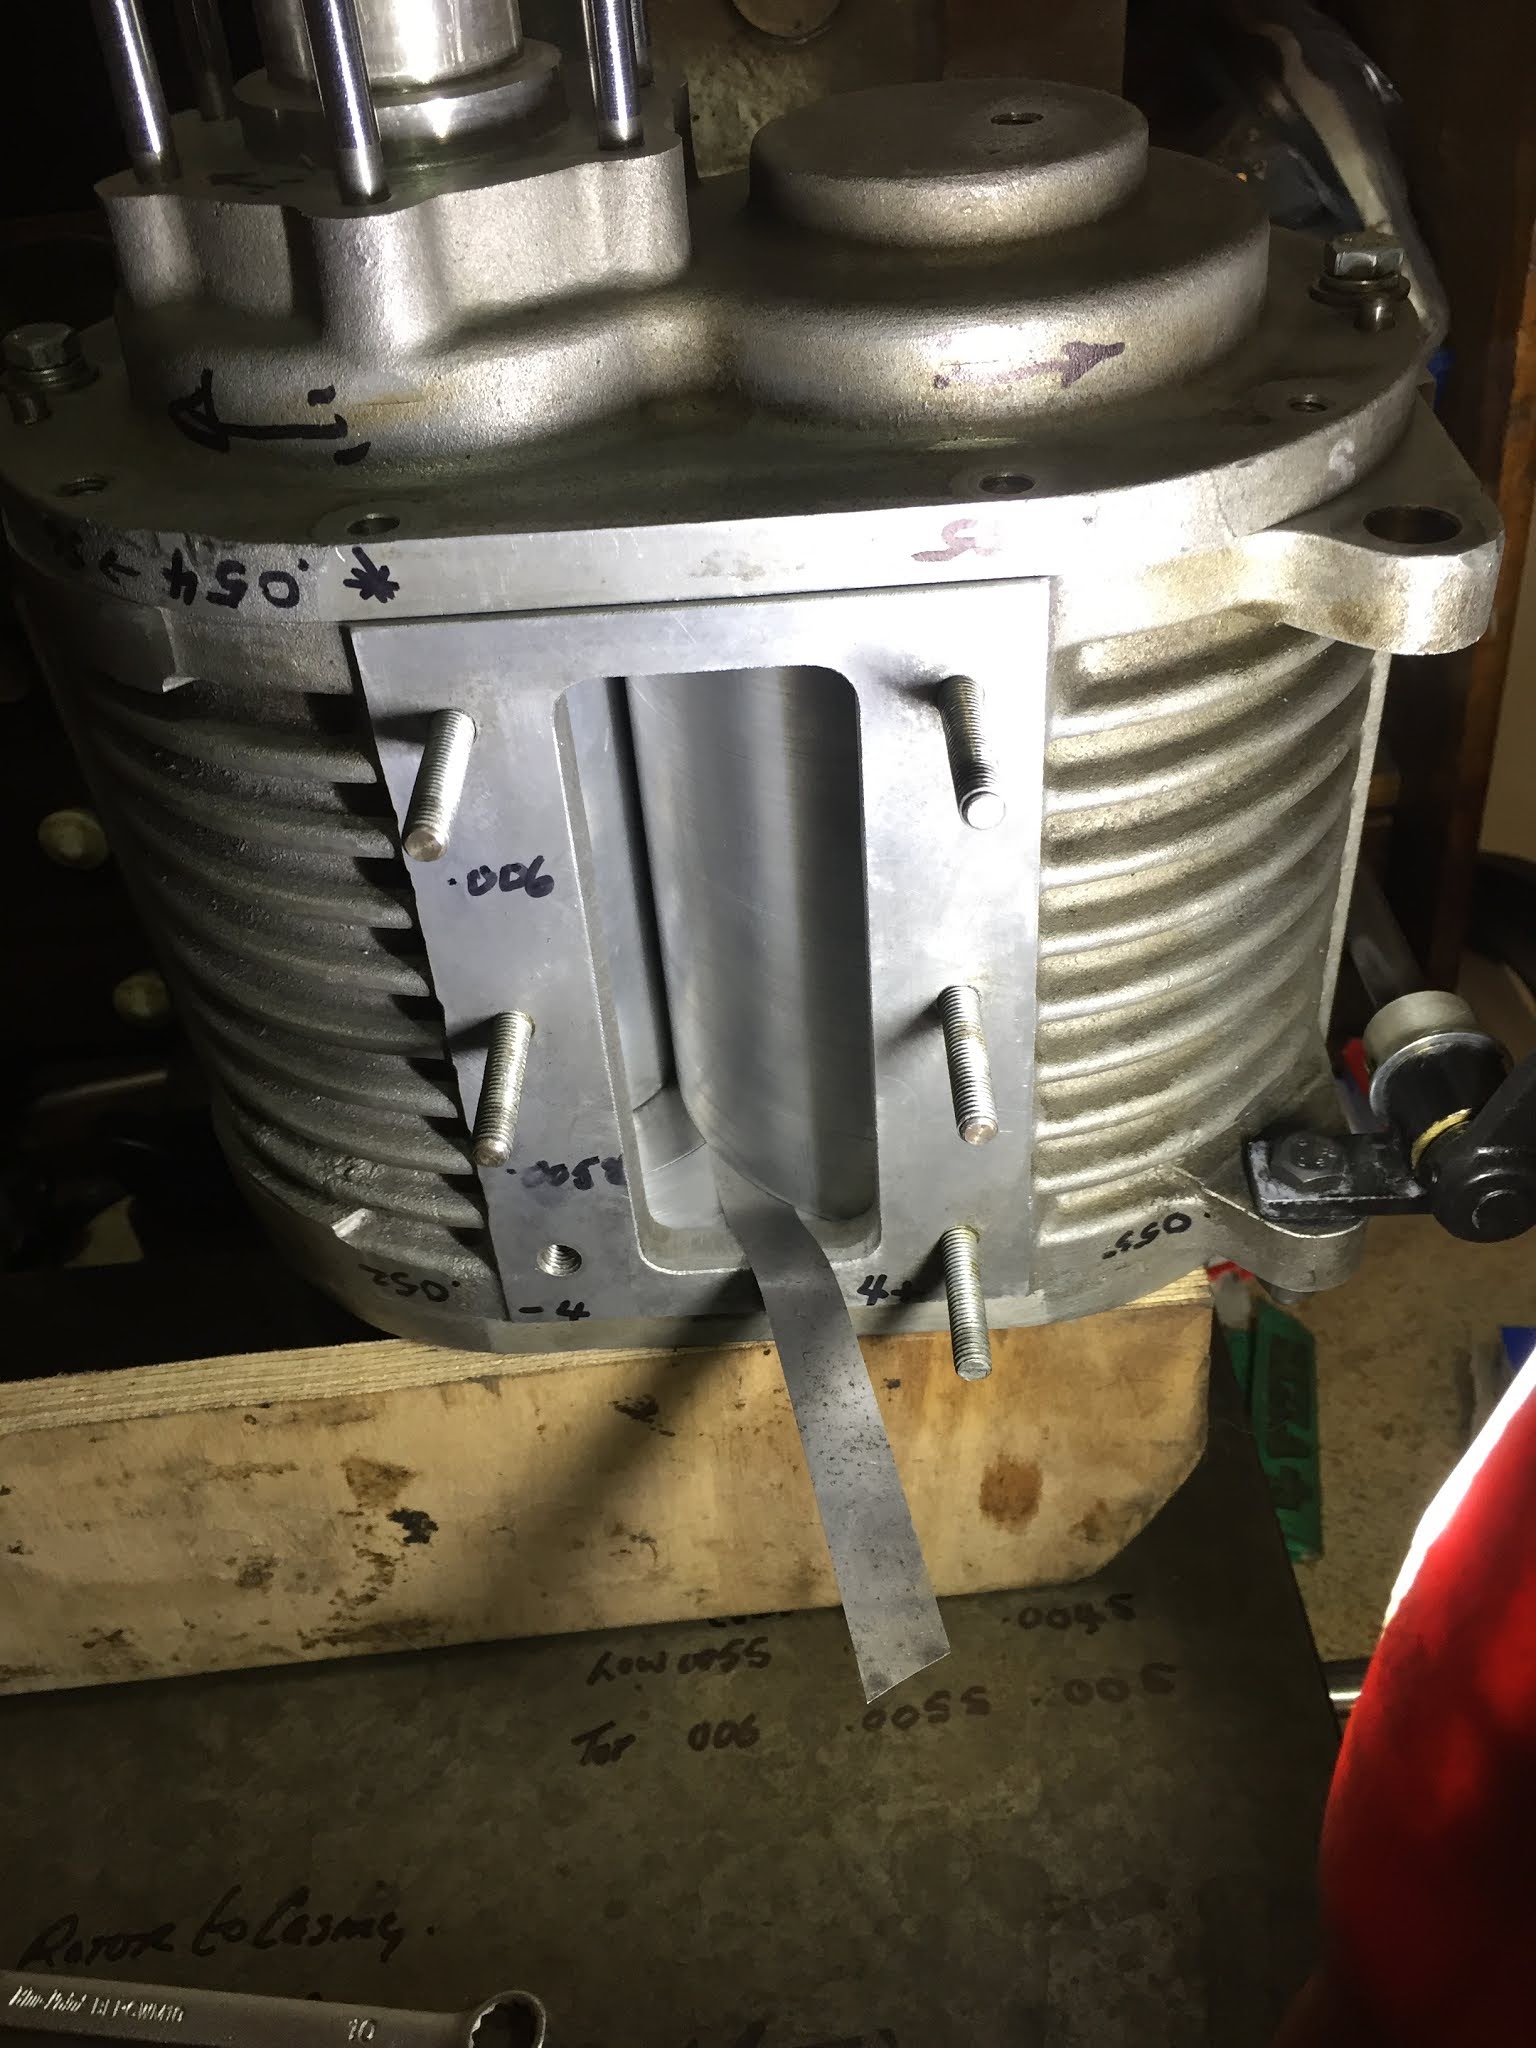
The supercharger is actually not as simple to set end face clearances as you might think. The rotors are floating axially and thrust washers dictate their position in the endplate counterbores whilst the rotor end face clearance is a factor of the housing length and rotor length. A lot to consider when measuring.
All bench measurements are noted to a chart to help us to monitor the unit during the initial period of testing. We have taken the clearance measurements over a set range of temperatures to provide us with an initial reference.
The gears that mesh the rotors are straight cut... very strong, and mounted via tapers not keys. There has been some discussion in the vintage world regarding the use of tapers and the fact they might fail as opposed to a key. My own feeling is that tapers are very good, providing they are appropriate for the design loads, in perfect contact and assembled spotlessly clean (including the absence of Loctite). A taper might just provide the first point of release should something catastrophically fail within the rotor and send ever churning fragments into your engine as a drive chain or gears soldier on!
We have also made a metering unit to replace the now rare original item that controls the oil feed to the valve train. As engine speeds increase with new materials and designs, we may consider a different oiling system at a later date to ensure that the high loads induced by a sporting camshaft are appropriately accommodated by adequate lubrication.
Rizla: For generations engineers have been using the precision of Rizla papers! I am proud to pass the tradition to Jacob...


