We have a wide variety on the go as we enter spring 2021.
The lockdown periods had taken their toll with long delays in parts and deliveries but at last they are beginning to arrive.
The Peugeot 401 has been waiting for pistons, at last we now have these and are making a start in fitting the pistons to the rods and the rods to the engine... Not quite as straight forward as it seems as on this engine, we have to enter the con rods from the bottom of the bore and then push the assembly to allow the piston to travel fully up and expose the piston ring grooves. Piston rings are then fitted before re engaging down the bore to assemble the bottom end.
Gloria Vitesse:
We have been working through some interior details and the sunroof rebuild and recovery on the Triumph Gloria Vitesse.
Jaguar MkII:
We have been working on a Jaguar MKII, assisting the owner in some top end work. Here we are preparing the head, including a "blue" check and lap of the new valves following headwork by an engineering company. The new AE Inlet valves have a rough face surface which will not allow the valve stick "sucker" to stay in position, they have required a face polish in the lathe to improve this. There is a strange fluctuation when lapping into the recut seats, indicating an odd four point contact on the valve? As some valves are OK and perform well in all seats, it is clearly a valve problem. Easily lapped out but tedious.
A good case for the routine blue test of valves and seats even though they have just returned from engineering work.. the "buck stops" with the engine builder, check everything!
Dnepr / Ural Sidecar Outfit:
I mentioned in my previous post, we have been rewiring and attending to some other jobs on a Dnepr outfit. A flathead 750cc early BMW style two wheel drive machine.. great fun I imagine. It has such robust engineering, you feel it would survive anything the military can throw at it. Cleverly, the rear and sidecar mudguards have a built in wiring channel. Of course the channel is a water trap and at this age corrosion has blocked the route to some degree. I was able to remove the debris from the rear mudguard enclosed channel, but was not successful with the side car mudguard channel. To by pass this, we have made a new external conduit to mount on the mudguard, in-keeping with the military style.
Jacob CAD designed a fuse holder bracket to allow the use of a more modern and available blade fuse, Jacob's CAD design file was 3d printed and the unit mounted near the regulator.

CAD Bracket

3d Final print
All wiring terminals have been soldered as opposed to crimped.
Above, silver soldering brackets to copper tube to shape and drill and provide location for this new external conduit.
Ferrules machined to finish the ends of the new conduit to protect the wiring from chafing.
Silver Solder repair of the cracked ignition key bezel.
Standard Vanguard:
We have been slowly progressing with the Standard Vanguard, although a servo master cylinder has been giving some problems. We had to identify the type of servo as it has been retro fitted from another vehicle, most likely an MG. We will be rebuilding the unit when parts are available shortly. In the mean time we have made a new pipe to by-pass the retro fit servo and allow us to maneuver the car for some rear end work. The weather has been a limitation on this one as it is at the owners premises with a very exposed garage door when opened!
Turner 950s:
Our main work through the month has been with the Turner, this is really coming together. Jacob has carried out some very good recovery surgery on the fabricated original handbrake lever and release mechanism. Initially, we thought it was a standard item from a Minor or similar, but close inspection reveals it as a fabricated item with donor parts, making recovery worth while. In some sections, Jacob's CAD and 3d print skill have been a great help to mock up small missing items or items too damaged to recover. With the temporary printed parts bolted in place, we can proceed with confidence and without second guessing.
When the jig / chassis trolley was first made, we provided locating brackets to areas that were to be replaced because of corrosion. With the brackets bolted on to the jig I can confidently fabricate a new dumb iron leg and bumper mount for the chassis.
An illustration of the simple but effective chassis design (we are grateful to the Turner club site http://www.turnersportscars.co.uk/). The Chassis has many similarities to Tojero / AC Ace / Cobra designs.
Triumph 2000:
The Triumph is an ongoing maintenance and improvement project. It is already an amazing example of this model, certainly one of the best original cars remaining I am sure. The car is the only transport for the owner and so we make sure we try to keep it up together with a continued list of preventative an rolling work.
We have been attending to an annoying exhaust rattle and an equally annoying small oil leak. Part of the improvement list is to provide a power supply for modern dashcam and GPS. Jacob has created a 3d print bracket to allow the modern power supply to be mounted in a way that can easily be removed to return the interior to a more appropriate '68 look when required.
Finally, a brief look at an American project on it's way to us. More details to follow...
 It is a 6 cylinder, one is out of shot!

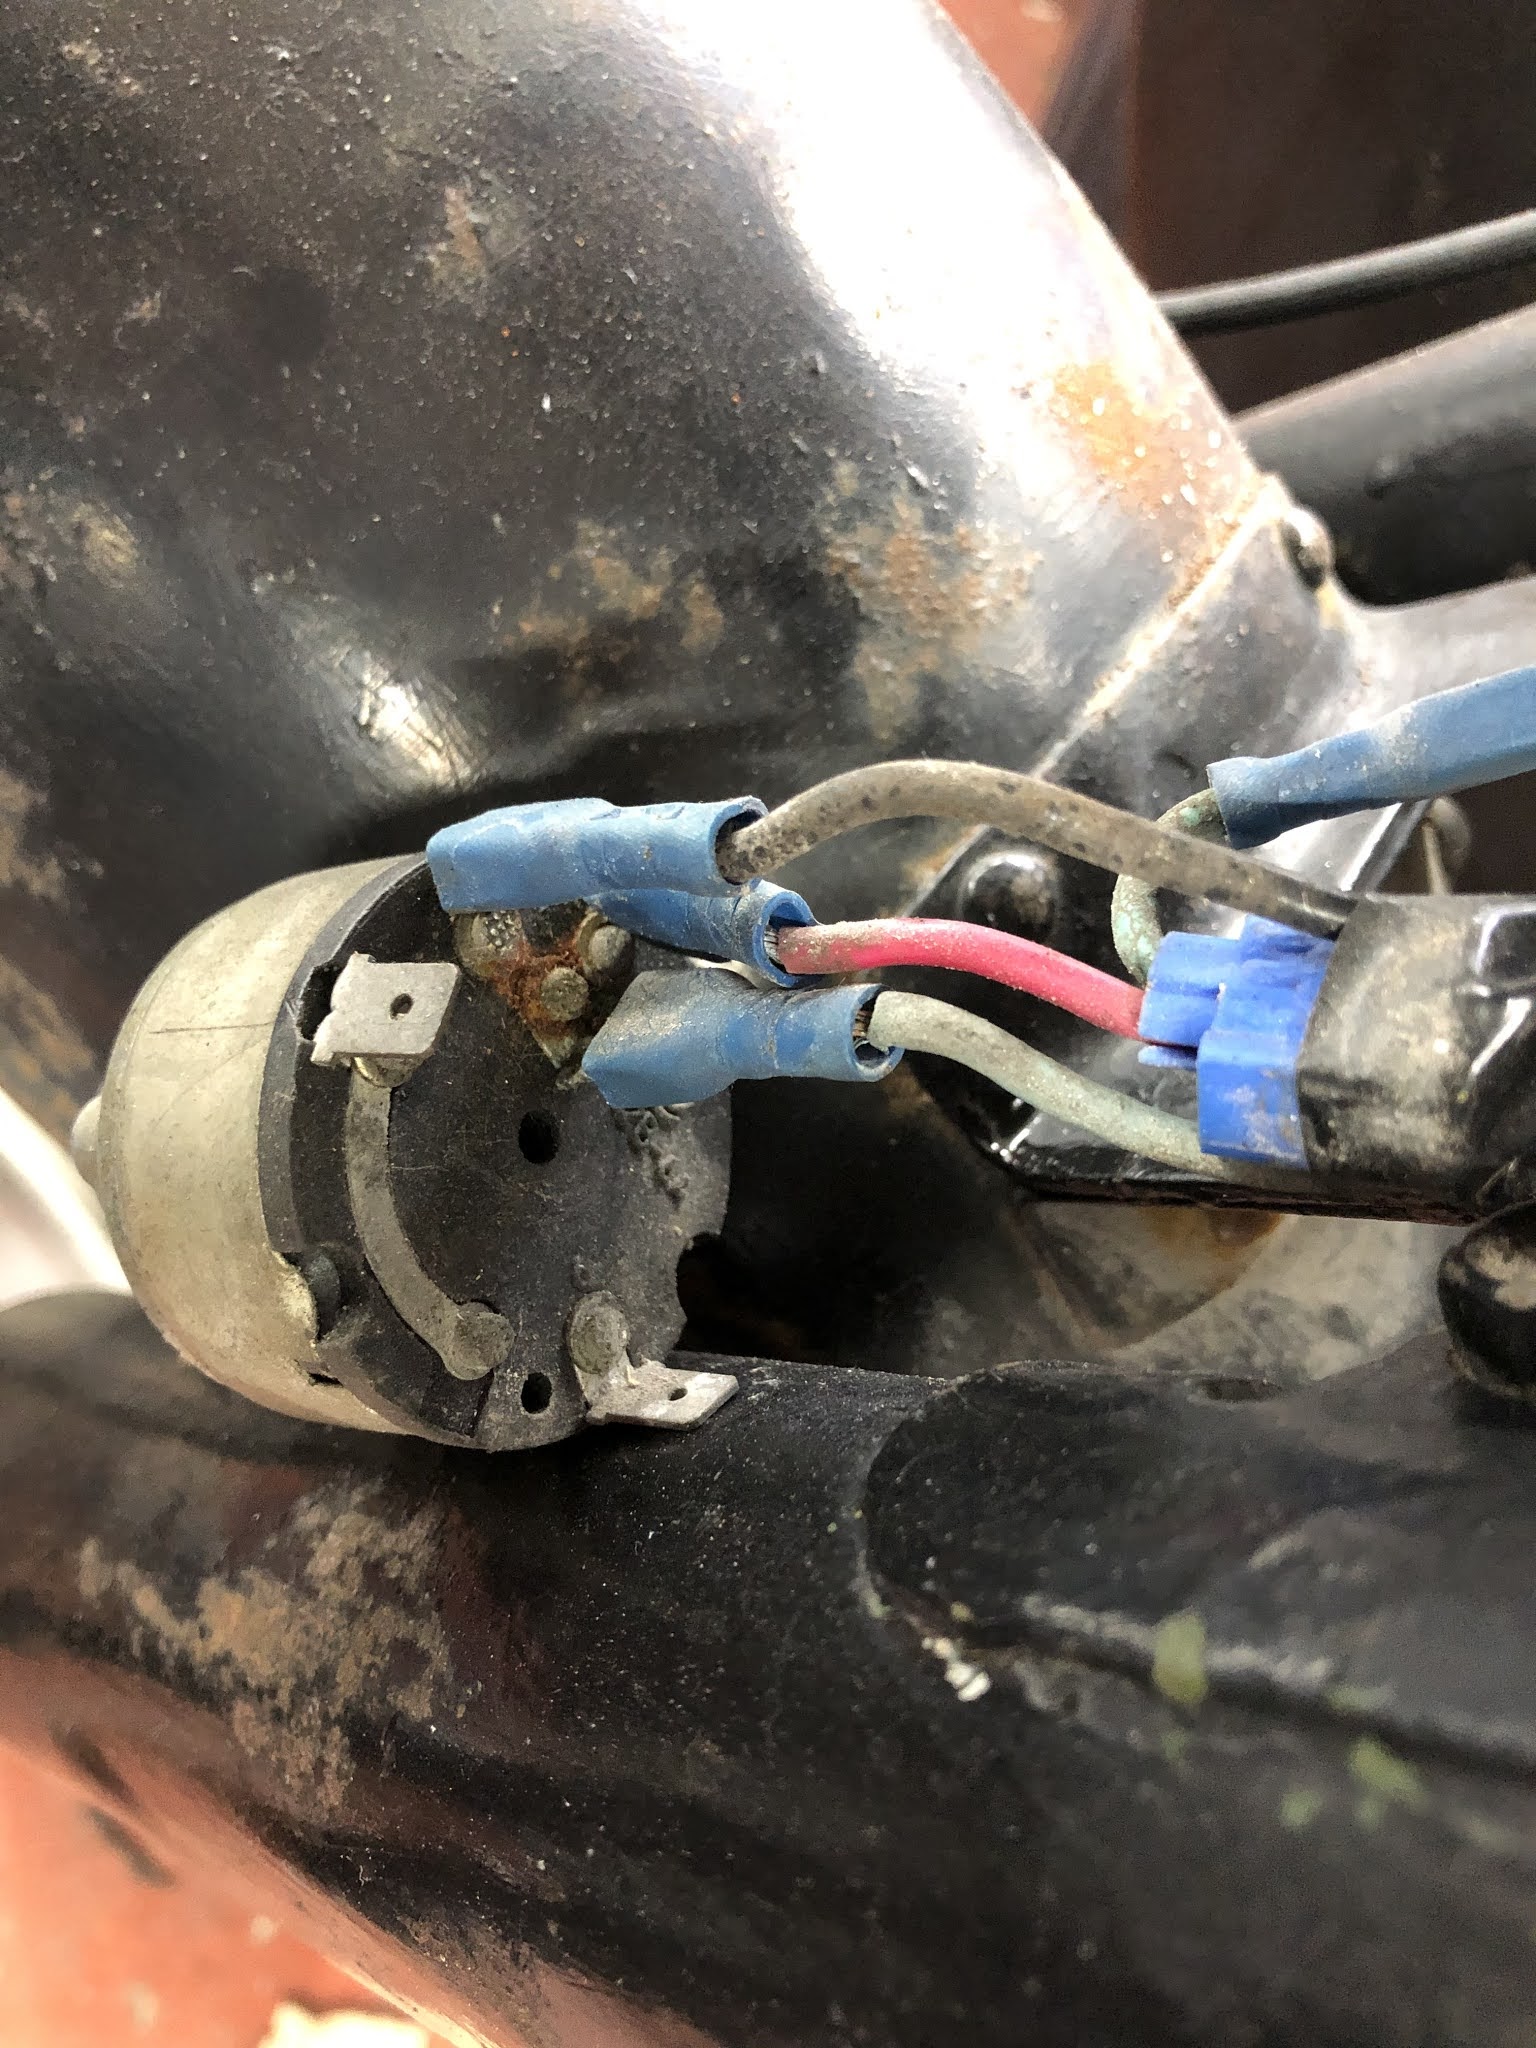 Photos showing mixed quality old wiring and modification over the 50 + years of the bikes lifetime.


