Early Spring Workshop. .. cLICK HERE TO FULLY OPEN

 We have a wide variety on the go as we enter spring 2021.

The lockdown periods had taken their toll with long delays in parts and deliveries but at last they are beginning to arrive.

The Peugeot 401 has been waiting for pistons, at last we now have these and are making a start in fitting the pistons to the rods and the rods to the engine... Not quite as straight forward as it seems as on this engine, we have to enter the con rods from the bottom of the bore and then push the assembly to allow the piston to travel fully up and expose the piston ring grooves. Piston rings are then fitted before re engaging down the bore to assemble the bottom end.


Gloria Vitesse:

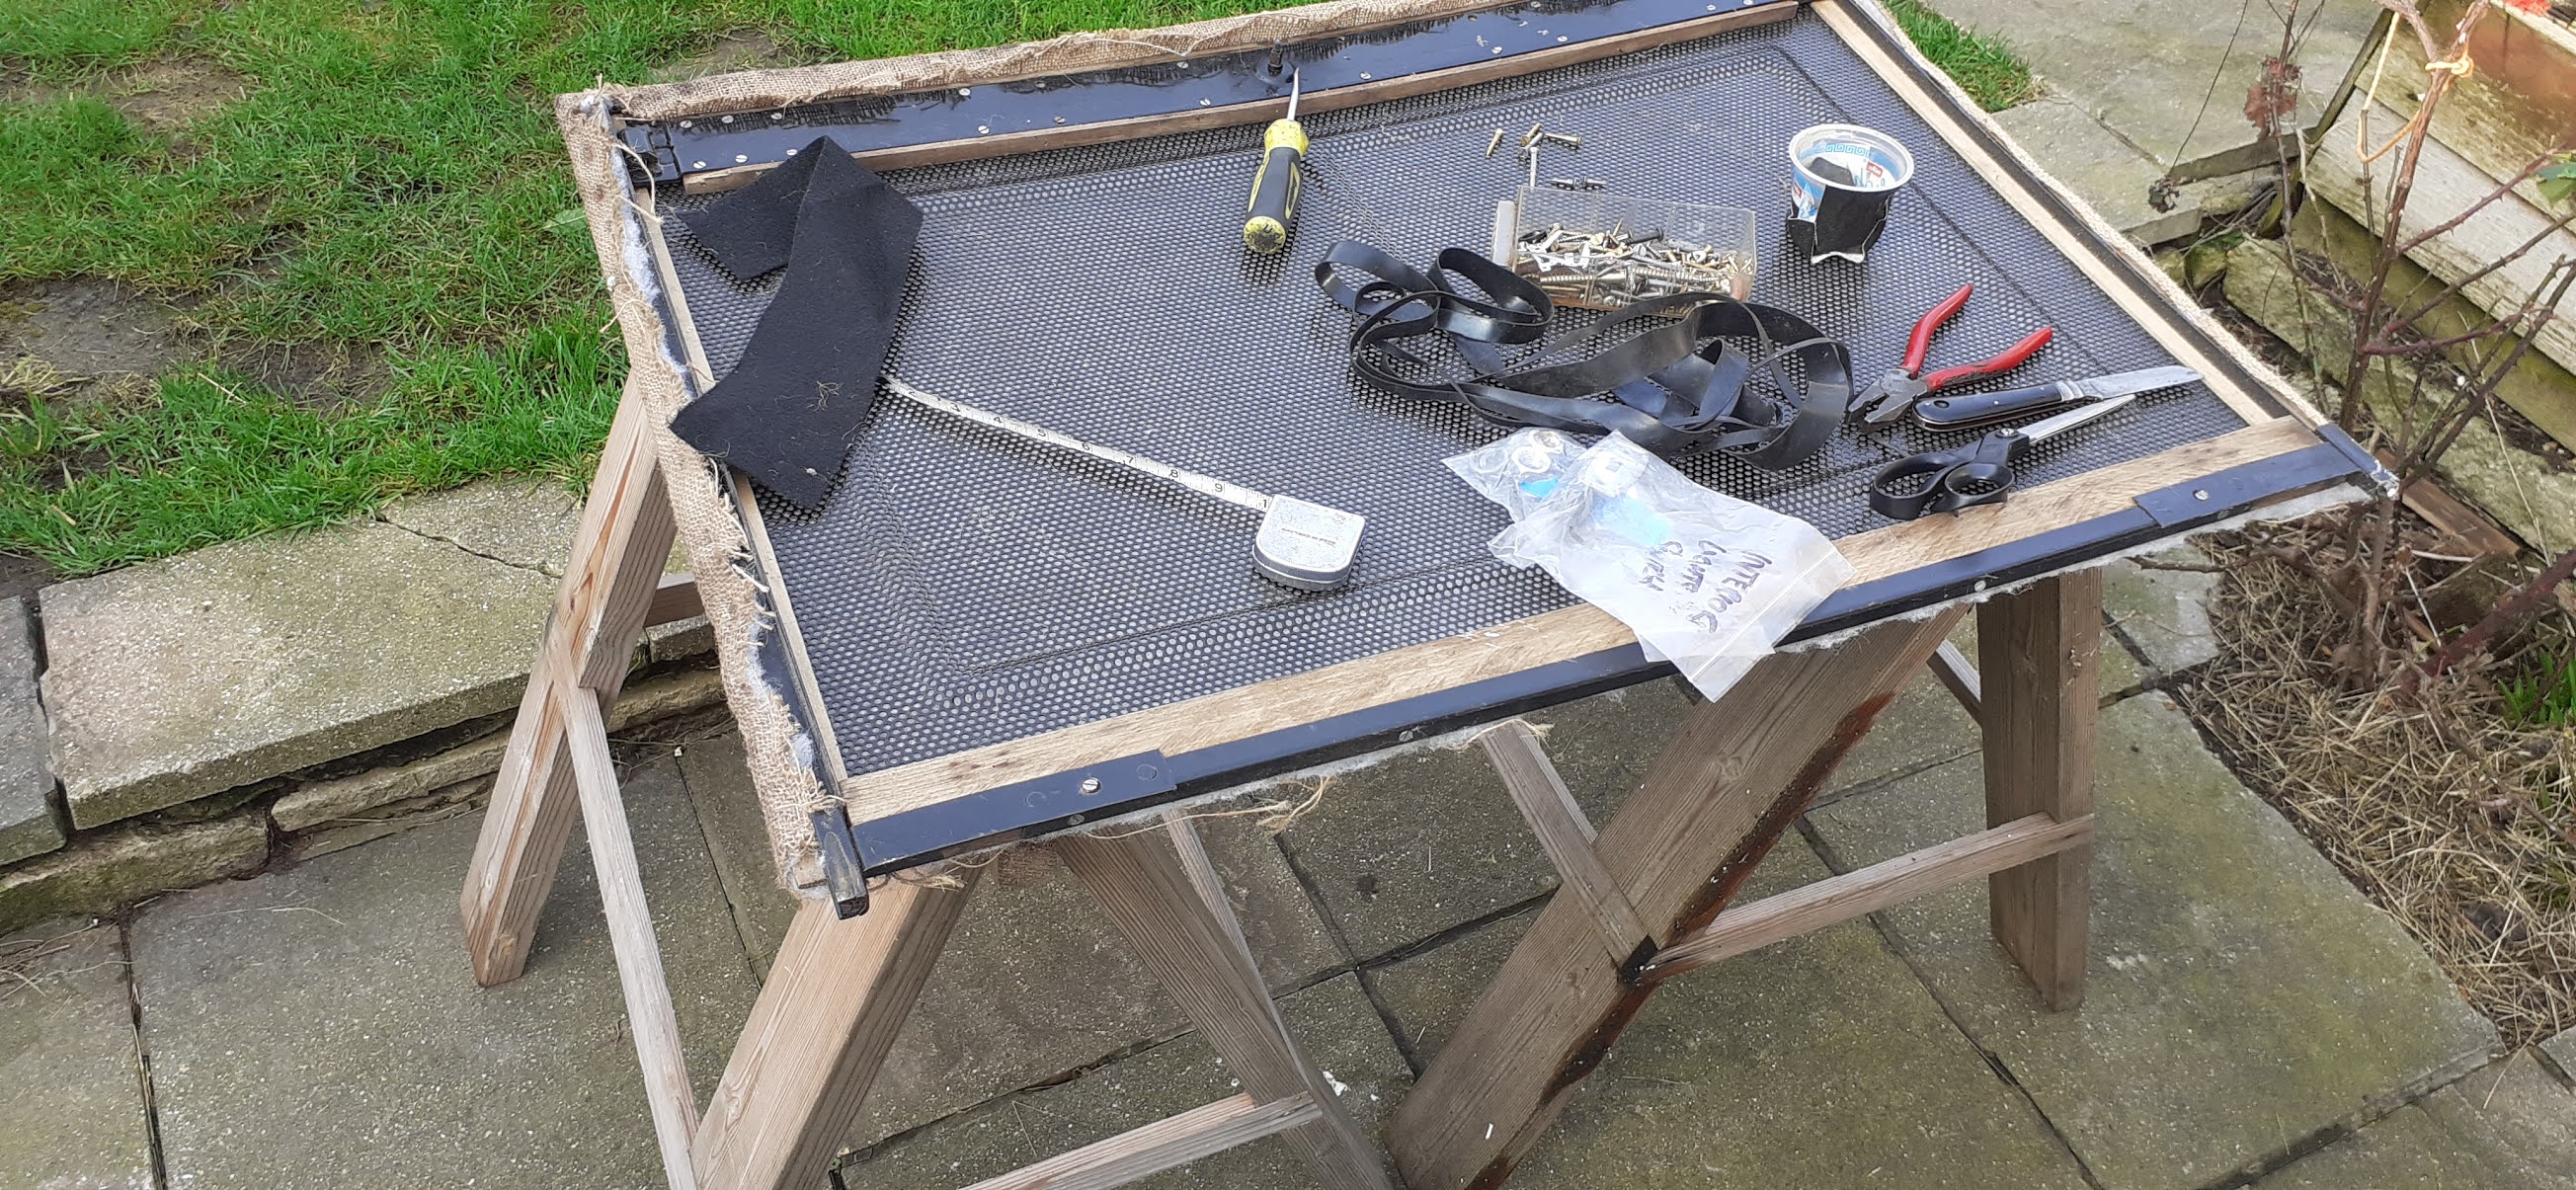
We have been working through some interior details and the sunroof rebuild and recovery on the Triumph Gloria Vitesse. 


Jaguar MkII:

We have been working on a Jaguar MKII, assisting the owner in some top end work. Here we are preparing the head, including a "blue" check and lap of the new valves following headwork by an engineering company. The new AE Inlet valves have a rough face surface which will not allow the valve stick "sucker" to stay in position, they have required a face polish in the lathe to improve this. There is a strange fluctuation when lapping into the recut seats, indicating an odd four point contact on the valve? As some valves are OK and perform well in all seats, it is clearly a valve problem. Easily lapped out but tedious. 

A good case for the routine blue test of valves and seats even though they have just returned from engineering work.. the "buck stops" with the engine builder, check everything!


Dnepr / Ural Sidecar Outfit:

I mentioned in my previous post, we have been rewiring and attending to some other jobs on a Dnepr outfit. A flathead 750cc early BMW style two wheel drive machine.. great fun I imagine. It has such robust engineering, you feel it would survive anything the military can throw at it. Cleverly, the rear and sidecar mudguards have a built in wiring channel. Of course the channel is a water trap and at this age corrosion has blocked the route to some degree. I was able to  remove the debris from the rear mudguard enclosed channel, but was not successful with the side car mudguard channel. To by pass this, we have made a new external conduit to mount on the mudguard, in-keeping with the military style. 

Jacob CAD designed a fuse holder bracket to allow the use of a more modern and available blade fuse, Jacob's CAD design file was 3d printed and the unit mounted near the regulator.

 CAD Bracket

3d Final print


All wiring terminals have been soldered as opposed to crimped.


Above, silver soldering brackets to copper tube to shape and drill and provide location for this new external conduit.

Ferrules machined to finish the ends of the new conduit to protect the wiring from chafing.


Silver Solder repair of the cracked ignition key bezel.

Standard Vanguard:

We have been slowly progressing with the Standard Vanguard, although a servo master cylinder has been giving some problems. We had to identify the type of servo as it has been retro fitted from another vehicle, most likely an MG. We will be rebuilding the unit when parts are available shortly. In the mean time we have made a new pipe to by-pass the retro fit servo and allow us to maneuver the car for some rear end work. The weather has been a limitation on this one as it is at the owners premises with a very exposed garage door when opened! 

Turner 950s:

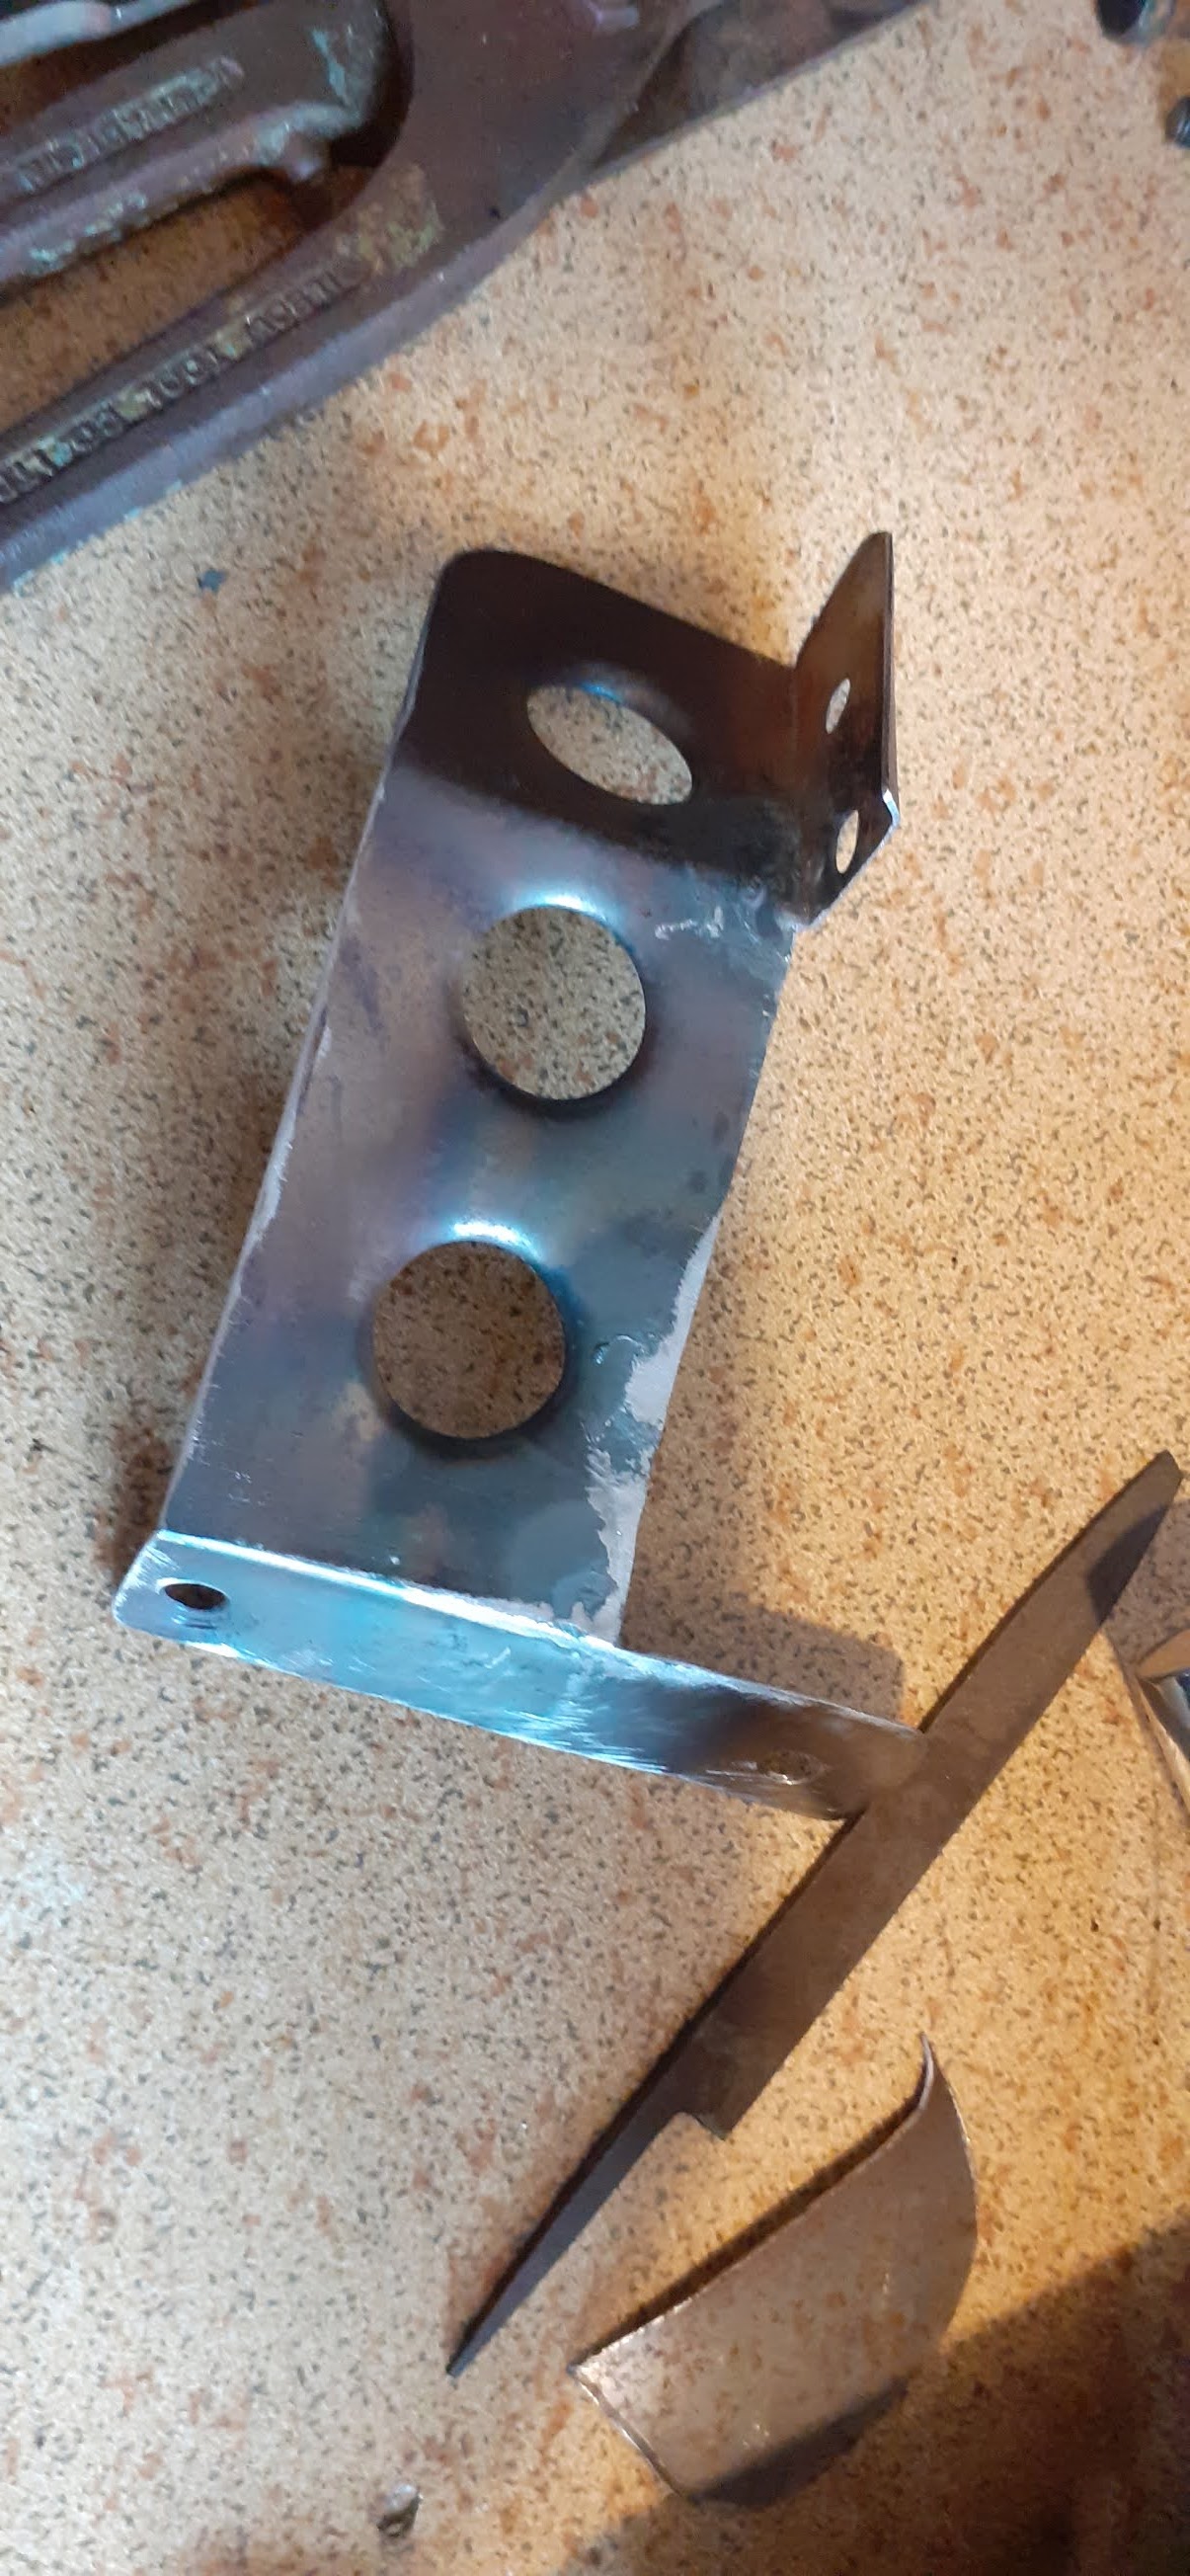
Our main work through the month has been with the Turner, this is really coming together. Jacob has carried out some very good recovery surgery on the fabricated original handbrake lever and release mechanism. Initially, we thought it was a standard item from a Minor or similar, but close inspection reveals it as a fabricated item with donor parts, making recovery worth while. In some sections, Jacob's CAD and 3d print skill have been a great help to mock up small missing items or items too damaged to recover. With the temporary printed parts bolted in place, we can proceed with confidence and without second guessing.

When the jig / chassis trolley was first made, we provided locating brackets to areas that were to be replaced because of corrosion. With the brackets bolted on to the jig I can confidently fabricate a new dumb iron leg and bumper mount for the chassis. 

An illustration of the simple but effective chassis design (we are grateful to the Turner club site http://www.turnersportscars.co.uk/). The Chassis has many similarities to Tojero / AC Ace / Cobra designs.


Triumph 2000:

The Triumph is an ongoing maintenance and improvement project. It is already an amazing example of this model, certainly one of the best original cars remaining I am sure. The car is the only transport for the owner and so we make sure we try to keep it up together with a continued list of preventative an rolling work. 
We have been attending to an annoying exhaust rattle and an equally annoying small oil leak. Part of the improvement list is to provide a power supply for modern dashcam and GPS. Jacob has created a 3d print bracket to allow the modern power supply to be mounted in a way that can easily be removed to return the interior to a more appropriate '68 look when required.


Finally, a brief look at an American project on it's way to us. More details to follow...


 It is a 6 cylinder, one is out of shot!


Turner 950S Sports Car work.

 We have had a variety of work over the last few weeks including wiring of a Dnepr sidecar, Triumph 2000, Jaguar and attend to brakes on the Standard Vanguard featured in previous blog posts. Most of the period has been on the Turner and Triumph Gloria as you can see (there will be more photos to follow as they are wrestled from a failing iphone!).

Turner 950S


Standard Vanguard Servo (Non Standard)


Winter Work ..... Please click to open

 The Wolseley Hornet engine is now ready for fitting, but we have been doing a few little detail jobs:

We had expected to have a new propshaft, and on inspection this is indeed the case. Considering the power and expected use of this car, we will not be using this original item. The wear is considerable, but it would be salvageable for a more mundane Hornet with a little less sting in it's tail!


Coolant Catch Tank bracket and strap fabrication and mounting to the side of the engine.


Here we attempted to modify for a modern oil filter cartridge. Unfortunately the various small, 'off the shelf', filter elements are too big for the original housing. The original cast aluminium housing has quite small internal dimensions, even cutting the filter down would give too great a restriction. In the absence of an original gauze, we reverted to making a nylon frame and modern gauze. The club supply a modern conversion, but this is more suited to the engines with an MG style filter. This may be the way to go in the future but we will have to make new pipes and brackets to mount such a unit.


We now have two older projects back in progress. A mid '30s Triumph Gloria Vitesse which came to us as an unfinished, but very well mechanically restored car. The second is a Turner 950s from about 1959. This car arrived in a poor and incomplete condition from the USA. Over the previous period we have most of the chassis repair work complete and we now have some brackets and fittings to make. The suspension has generally been completed on the bench. Here we are finishing the hubs and some steering items before refitting to the car. You will see the backplates drilled for competition work in the US, we will probably convert to disc brakes at some point, however we will use the original items initially so that we can have a rolling chassis fairly soon. In many ways it is nice to retain some of the original items with their historical modifications that tell a story. 
The body and tub are being rebuilt and hopefully we will coincide with a rolling chassis ready to place the body straight on.


Turner 950s

Turner Preparation


Triumph Gloria Vitesse

New interior capping fitting up and sunroof preparation.


Finally, here is a glimpse of a smaller task that we are looking at at the moment.
Full details will be given later, subject to the owners go-ahead...


Wolseley cont'd and Christmas spirit..... click here to open.

 Making ready to run the engine, oil pressure tested and supercharger belts on to enable a proper check of the pulleys for the first time. The build stand restricted the access to the engine front pulley before and so we were unable to do a final test fit and align faces. Now we are ready to assemble the front cover complete with the front engine mount. 

Here we are modifying the frame to now properly locate the front of the engine via the front mounting. As is often the case with very "clean" sided cast engine blocks of the period, there are very few places to mount a conventional build stand.

Last month, we had carried out a very temporary overview by cranking the engine over with the pulleys attached. But, this was with limited engine support only allowing a limited amount of trial pulley alignment and to check the operation of my new oversize dynamo pulley. It also gave us an opportunity to prepare a special woodruff key to overcome the fact that during nitride treatment, the keyway in the crankshaft had closed by several thousandths of an inch along with the flywheel bolt location holes in the rear crank flange (see previous posts re these issues). Here we are just giving a final dress to our previously made "stepped" key before fitting to the front engine pulley and crank.


Of course even on this home stretch, there are always small problems. The carburettor piston had a very dull piston closure sound when lifted and dropped as if the needle was catching the jet. Thinking it would be a simple case of releasing and centralising the jet block, I was a little unsure why the block seemed to bind (from experience they normally slide into position very easily). Removal of the jet block revealed the problem; the two small soft jet glands sit in small brass cupped washers onto which the pressure spring bears. Except, on this unit the washers were missing and the soft glands were distorted and bound up inside the spring, stopping any form of side adjustment. Not wanting to delay even further, luckily we had another SU on the back of the bench enabling me to "borrow" the washer as well as borrow a replacement fibre vent washer for the top nut of the float chamber as this washer was also missing.

Whilst in this area, I had made a new banjo for the fuel feed, the unit is quite large and bulky for this application which has limited room. By making a slimmer unit of a slightly altered shape, we have quite a nice arrangement. 
But.....(there is always a but when you change a design!) I hadn't quite made it deep enough by about 010" resulting in a fuel weep. To correct this I machined an extra thick aluminium washer to suit. I will make some spares of these non std washers for the car's toolbox. 

As I mentioned, this last phase has been the first opportunity to wholly test fit the front pulley and the front housing. Unfortunately, I made the 5/16" pin that passes through and retains the bottom of the chain tensioner, a little too long. Again I was not keen to remove the tensioner at this point and so I trimmed it to length with a junior hacksaw and dress with a file in position. Lots of judicious  packing of rag and a strong vacuum cleaner keeping the swarf out of harms way.


We had spent a surprising amount of time setting the valve clearances for a final time before the run. It is important to make sure they are secure when complete to avoid any risk of migration. Whilst I am sure it would be ok, I don't wish to risk any blowback into the charged manifold from an unseated inlet valve.
It is getting late evening here in the workshop and there have been a few late nights to get this engine finished. However, that has not stopped the Christmas spirit coming over from the kitchen and a Christmas tree bedecked front room as you can see by the non health and safety addition on my bench... thank you Bryony! Mulled wine... Cheers!


Supercharger Adaptation Continued.

 Some more Supercharger drive over the last two weeks. All very time consuming as the clock races as if supercharged toward Christmas!